
5 Ways to Elevate a Basement Bar
How to Give Your DIY Bar a Boutique Design
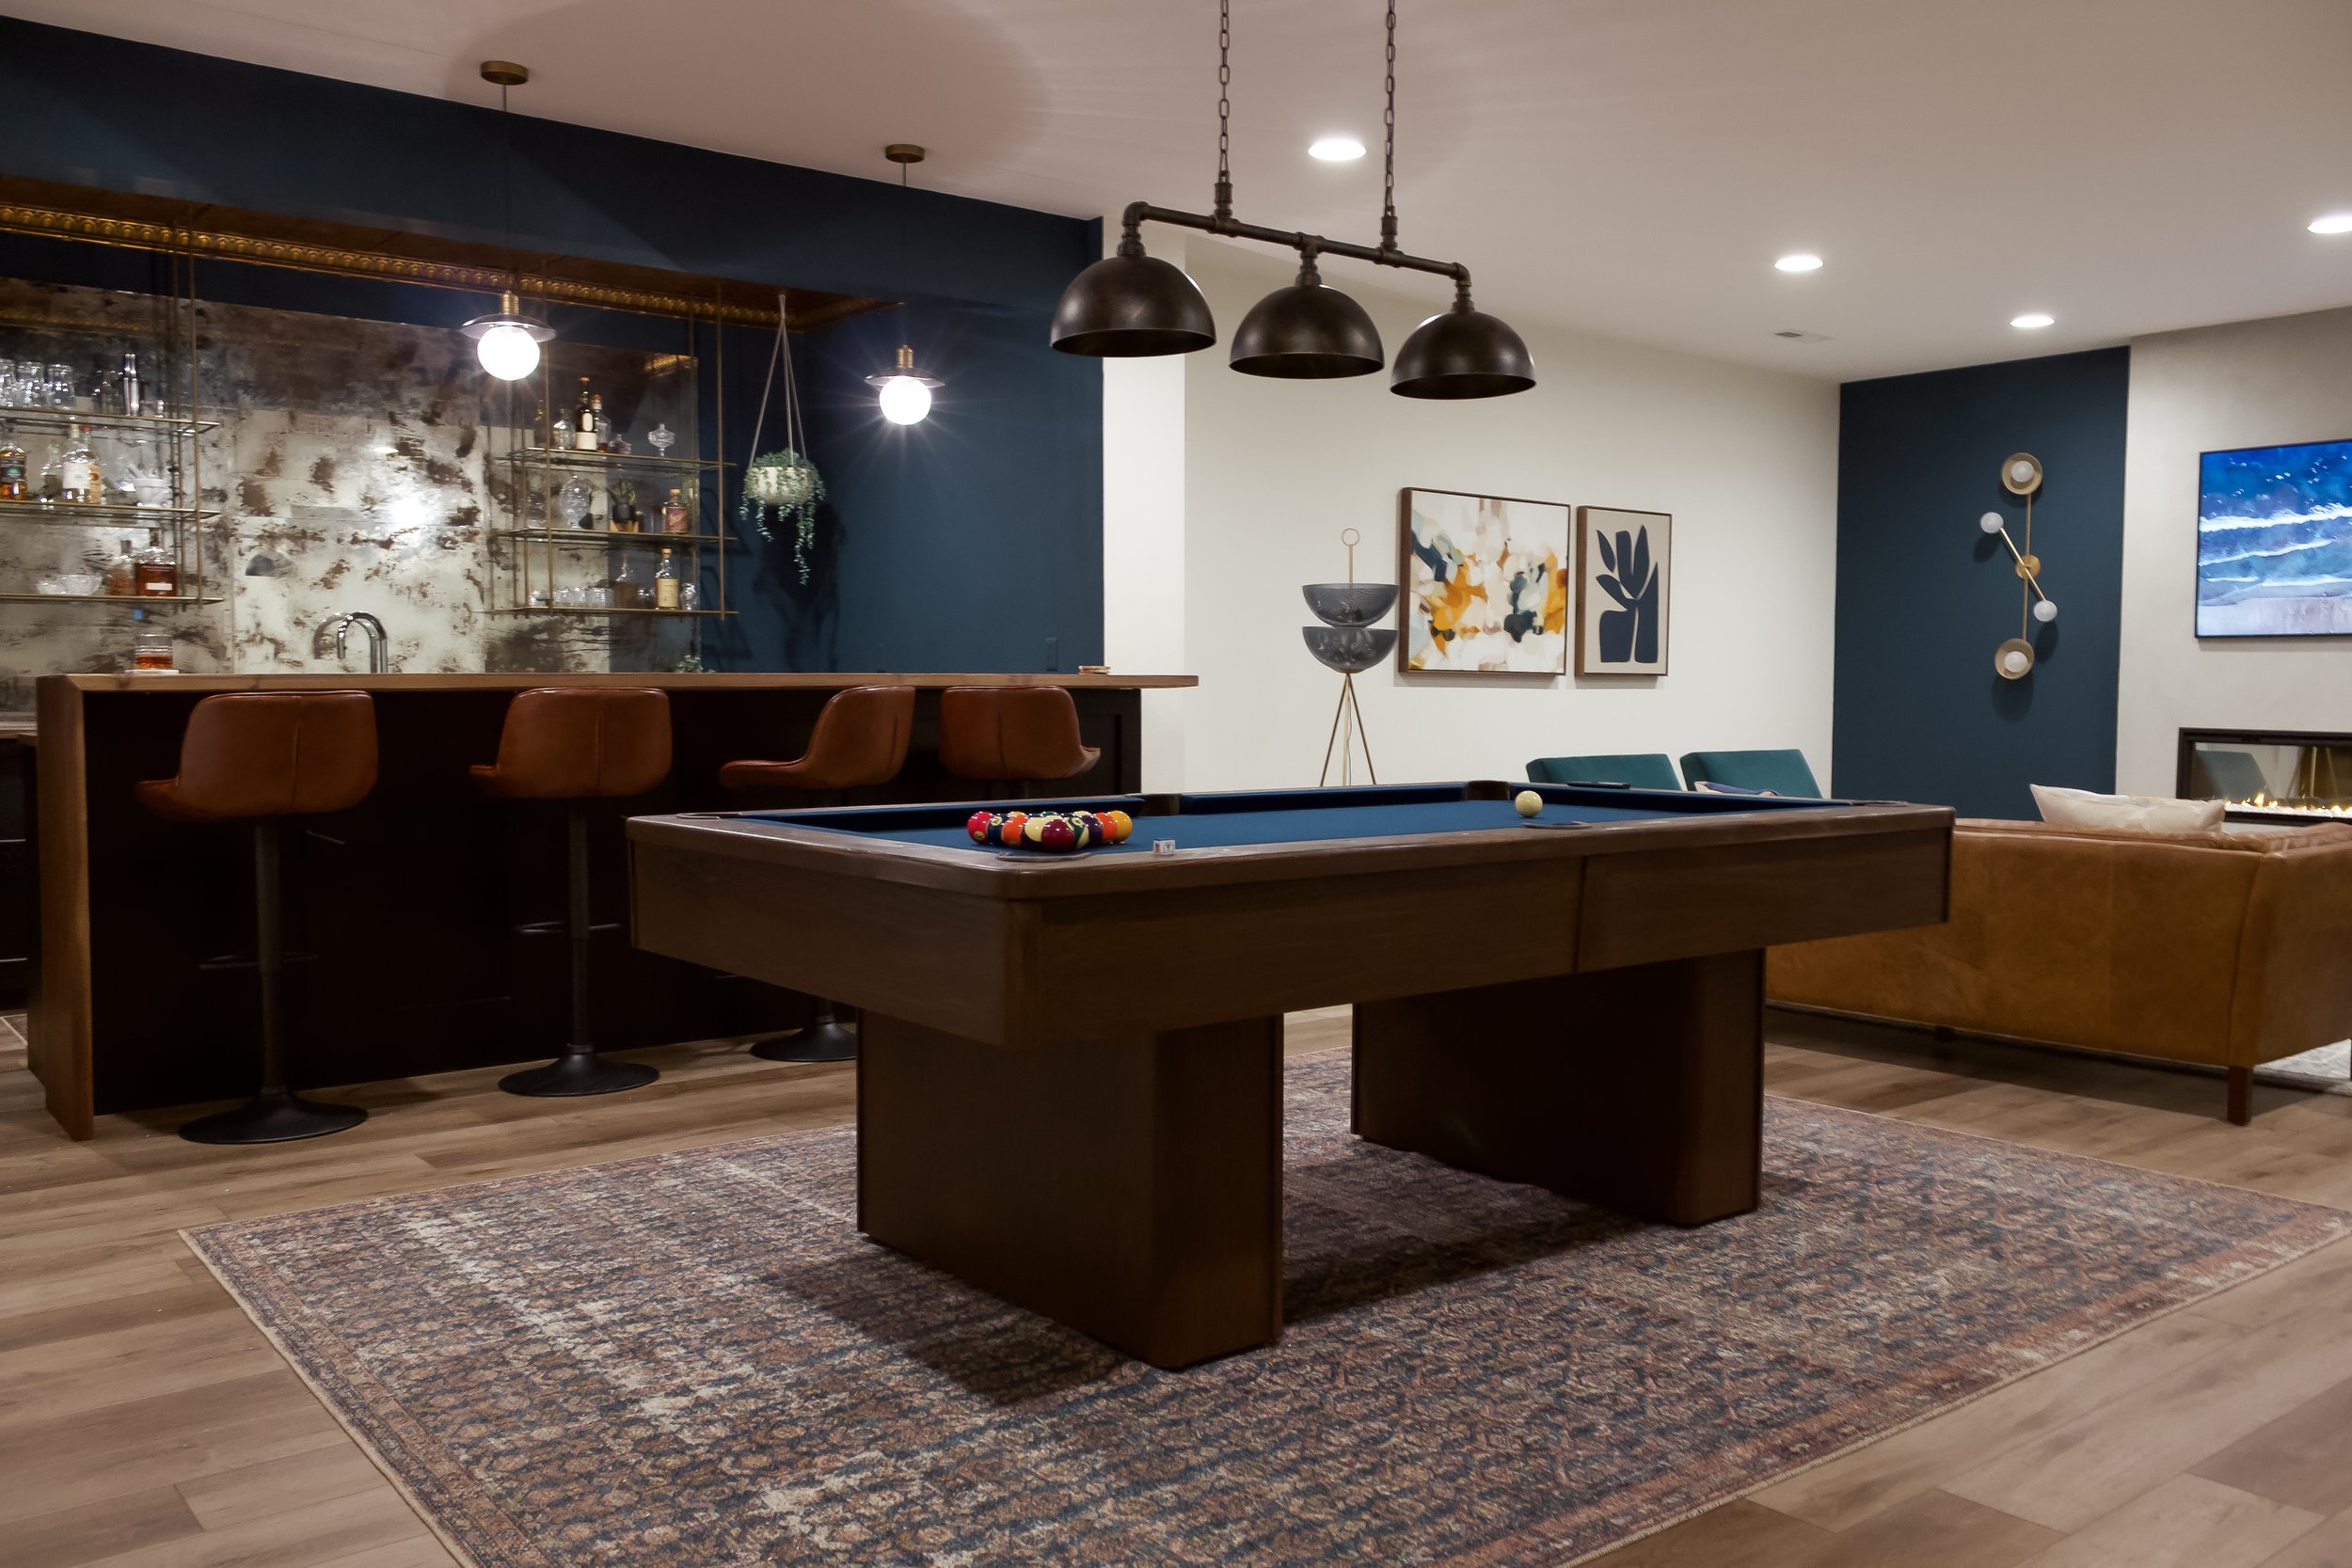
Building a basement bar is a rewarding DIY project. When it’s done, you get to share the space with the people you love and show off all your handiwork! (Humbly, of course.) It doesn’t have to be a very difficult project, either. The foundation is pretty straightforward. From there, you’re free to make it as complicated or custom as you fancy heart desires.
There are relatively easy ways to make your finished home bar space feel more like a destination and less like an obvious DIY. I have 5…err, well, probably more like 6… suggestions that I included in my own basement bar design. I’d love to hear if there are any more ideas you’d add!
Install Tin Ceilings
Walls colors and floor selections get all the love. But a statement ceiling can make a massive impact! Tin ceilings are an extra special way to take a space from basic home bar to boutique hotel or cozy speakeasy vibes. American Tin Ceilings supplied the tile for our bar space. I opted for an art-deco design that bridges the gap between modern and classic. This style attaches directly to drywall and we installed the whole ceiling in just a few hours!

2. Pick Chic Shelving

I swear, I’m all about DIY shelving –
(I built the shelves in our fancy pantry and love how they turned out!)
– but I wanted to do something extra special for the bar space. Brass and glass hanging cafe shelves can be spotted in many high-end bars and boutique hotels and they really level up a home bar (or kitchen!) Iron Abode gifted two of their Riviera Glass Units for the space and I was absolutely blown away by the custom, handcrafted quality.
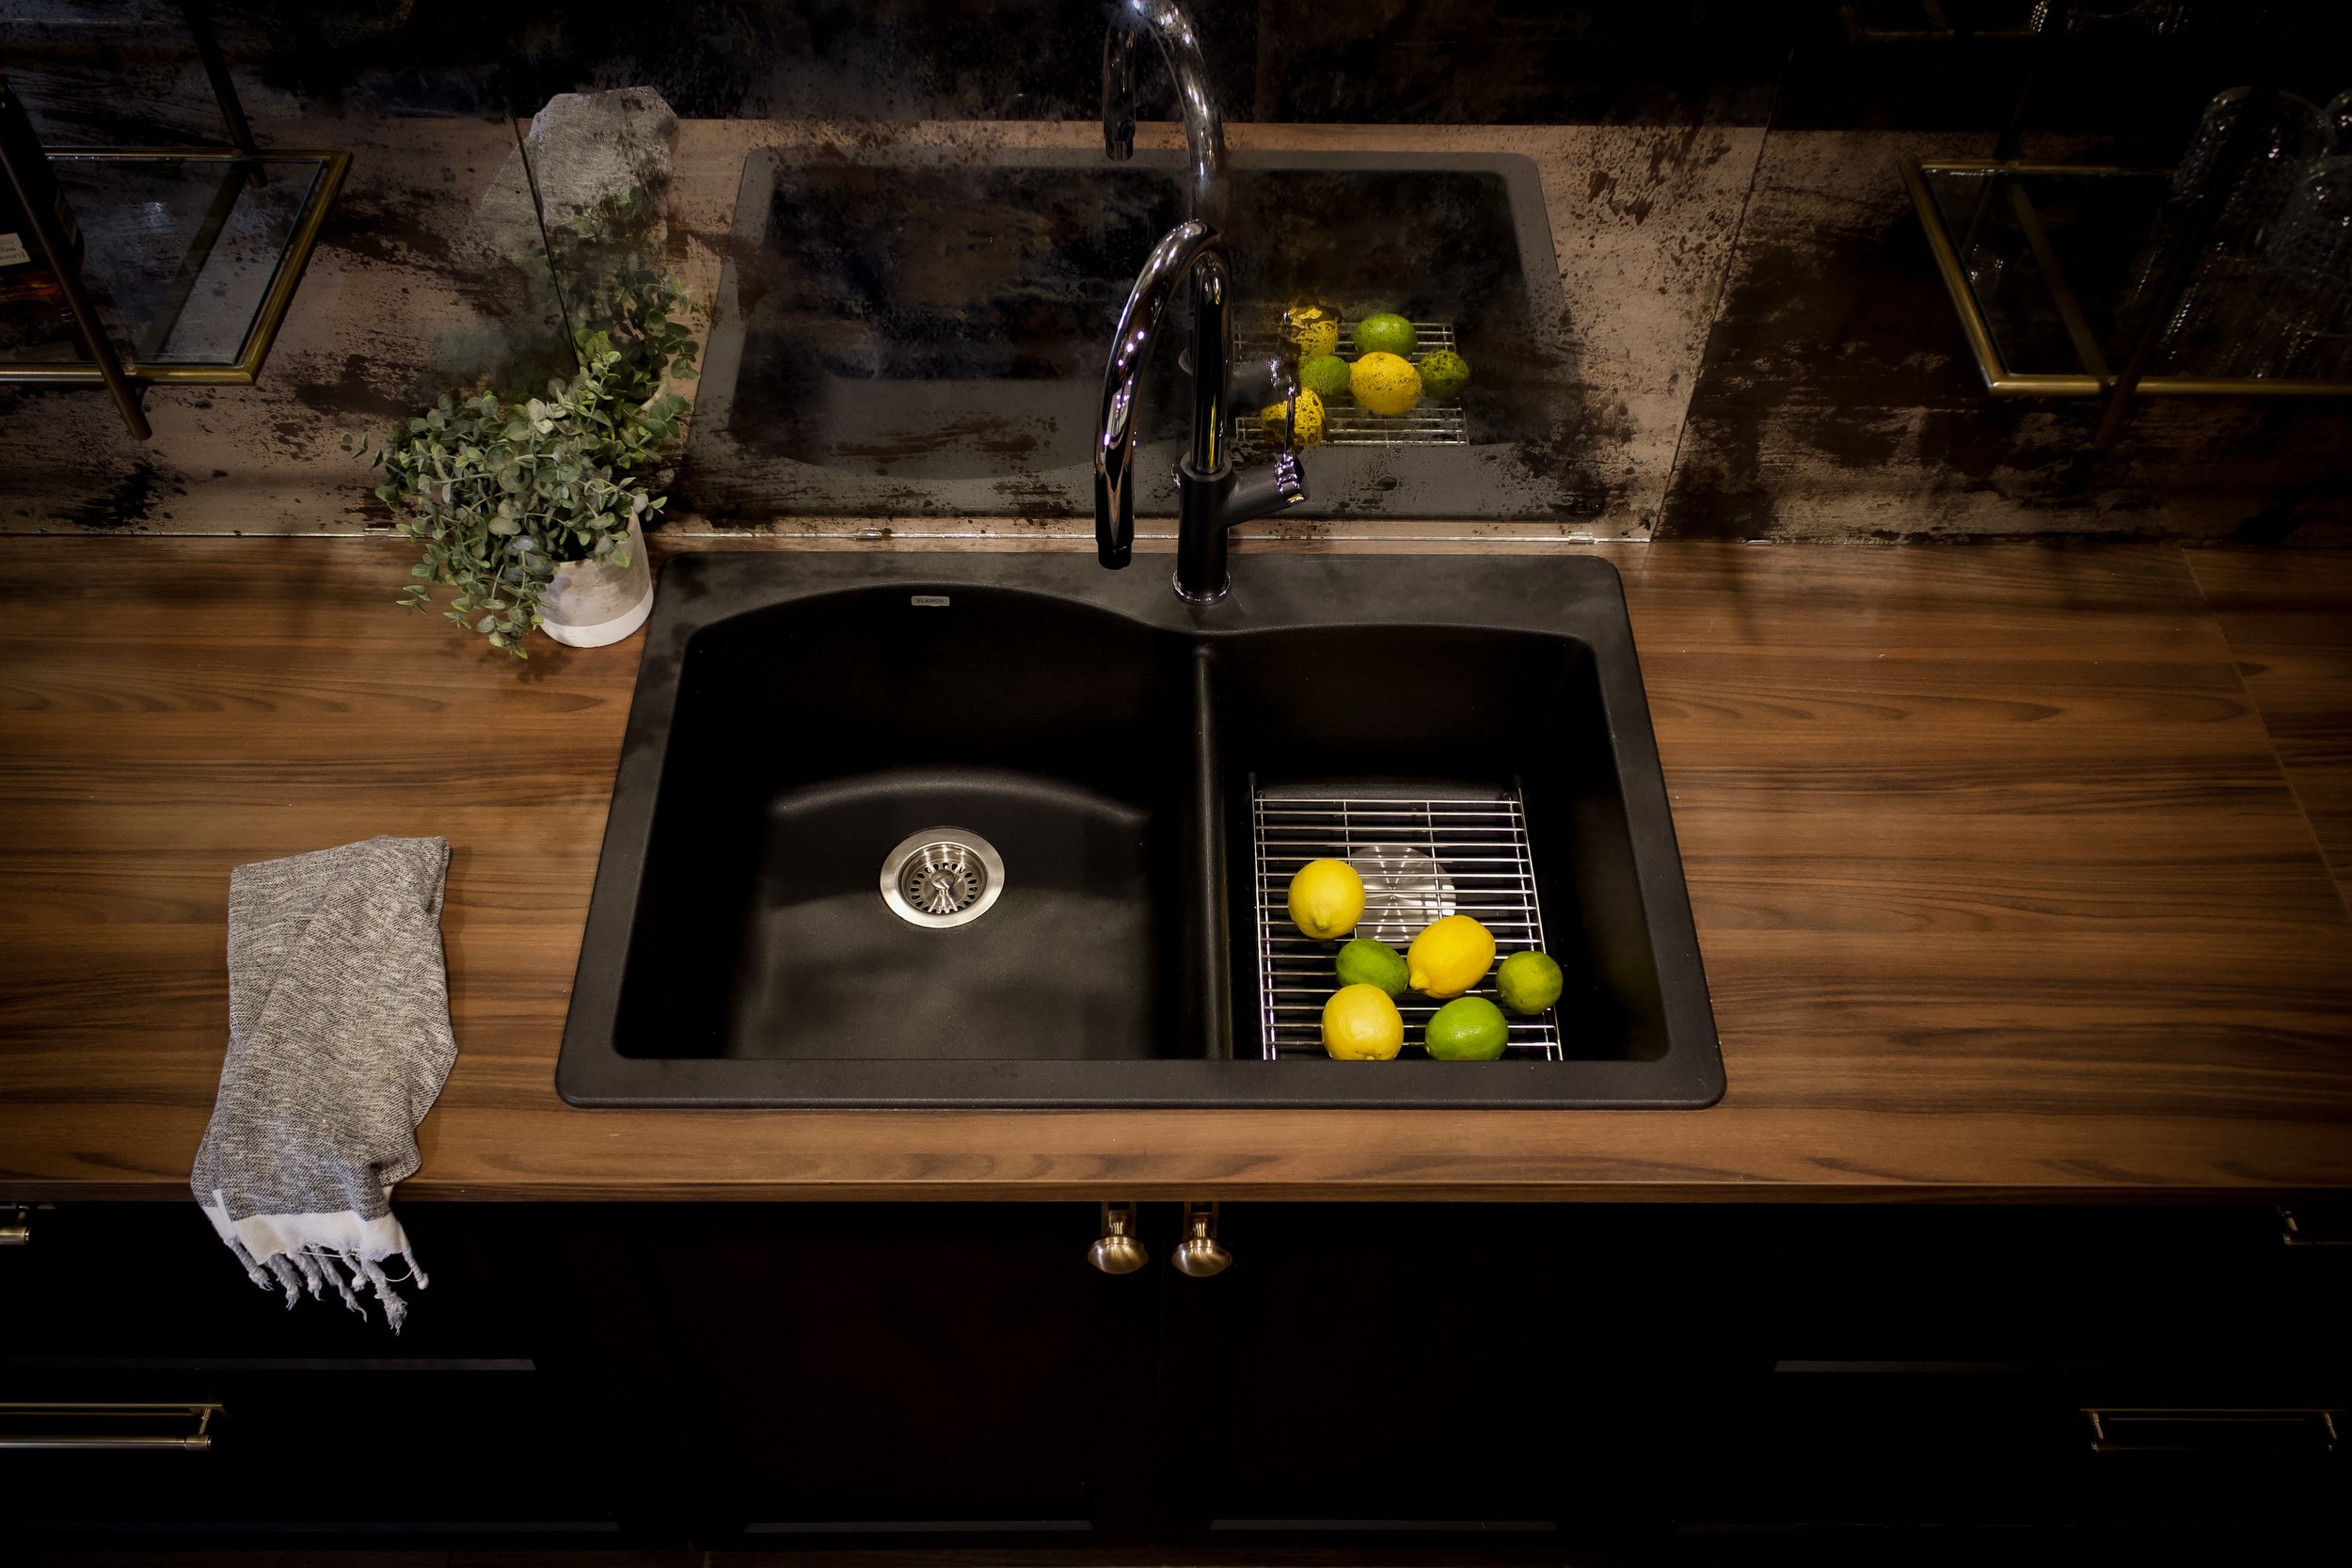
3. Remember a Quality Sink & Faucet
Sinks might not be the first thing you think of in the wet bar design – but they’re such an important piece and often sit at the center of the space. Give this design decision a little love by opting for a sink and faucet that complement and elevate the design. We chose a full size BLANCO SILGRANIT DIAMOND 1 3⁄4 Dual-Mount sink in Anthracite and a matching URBENA faucet in Chrome/Anthracite for a sleek, color-coordinated look. (gifted)
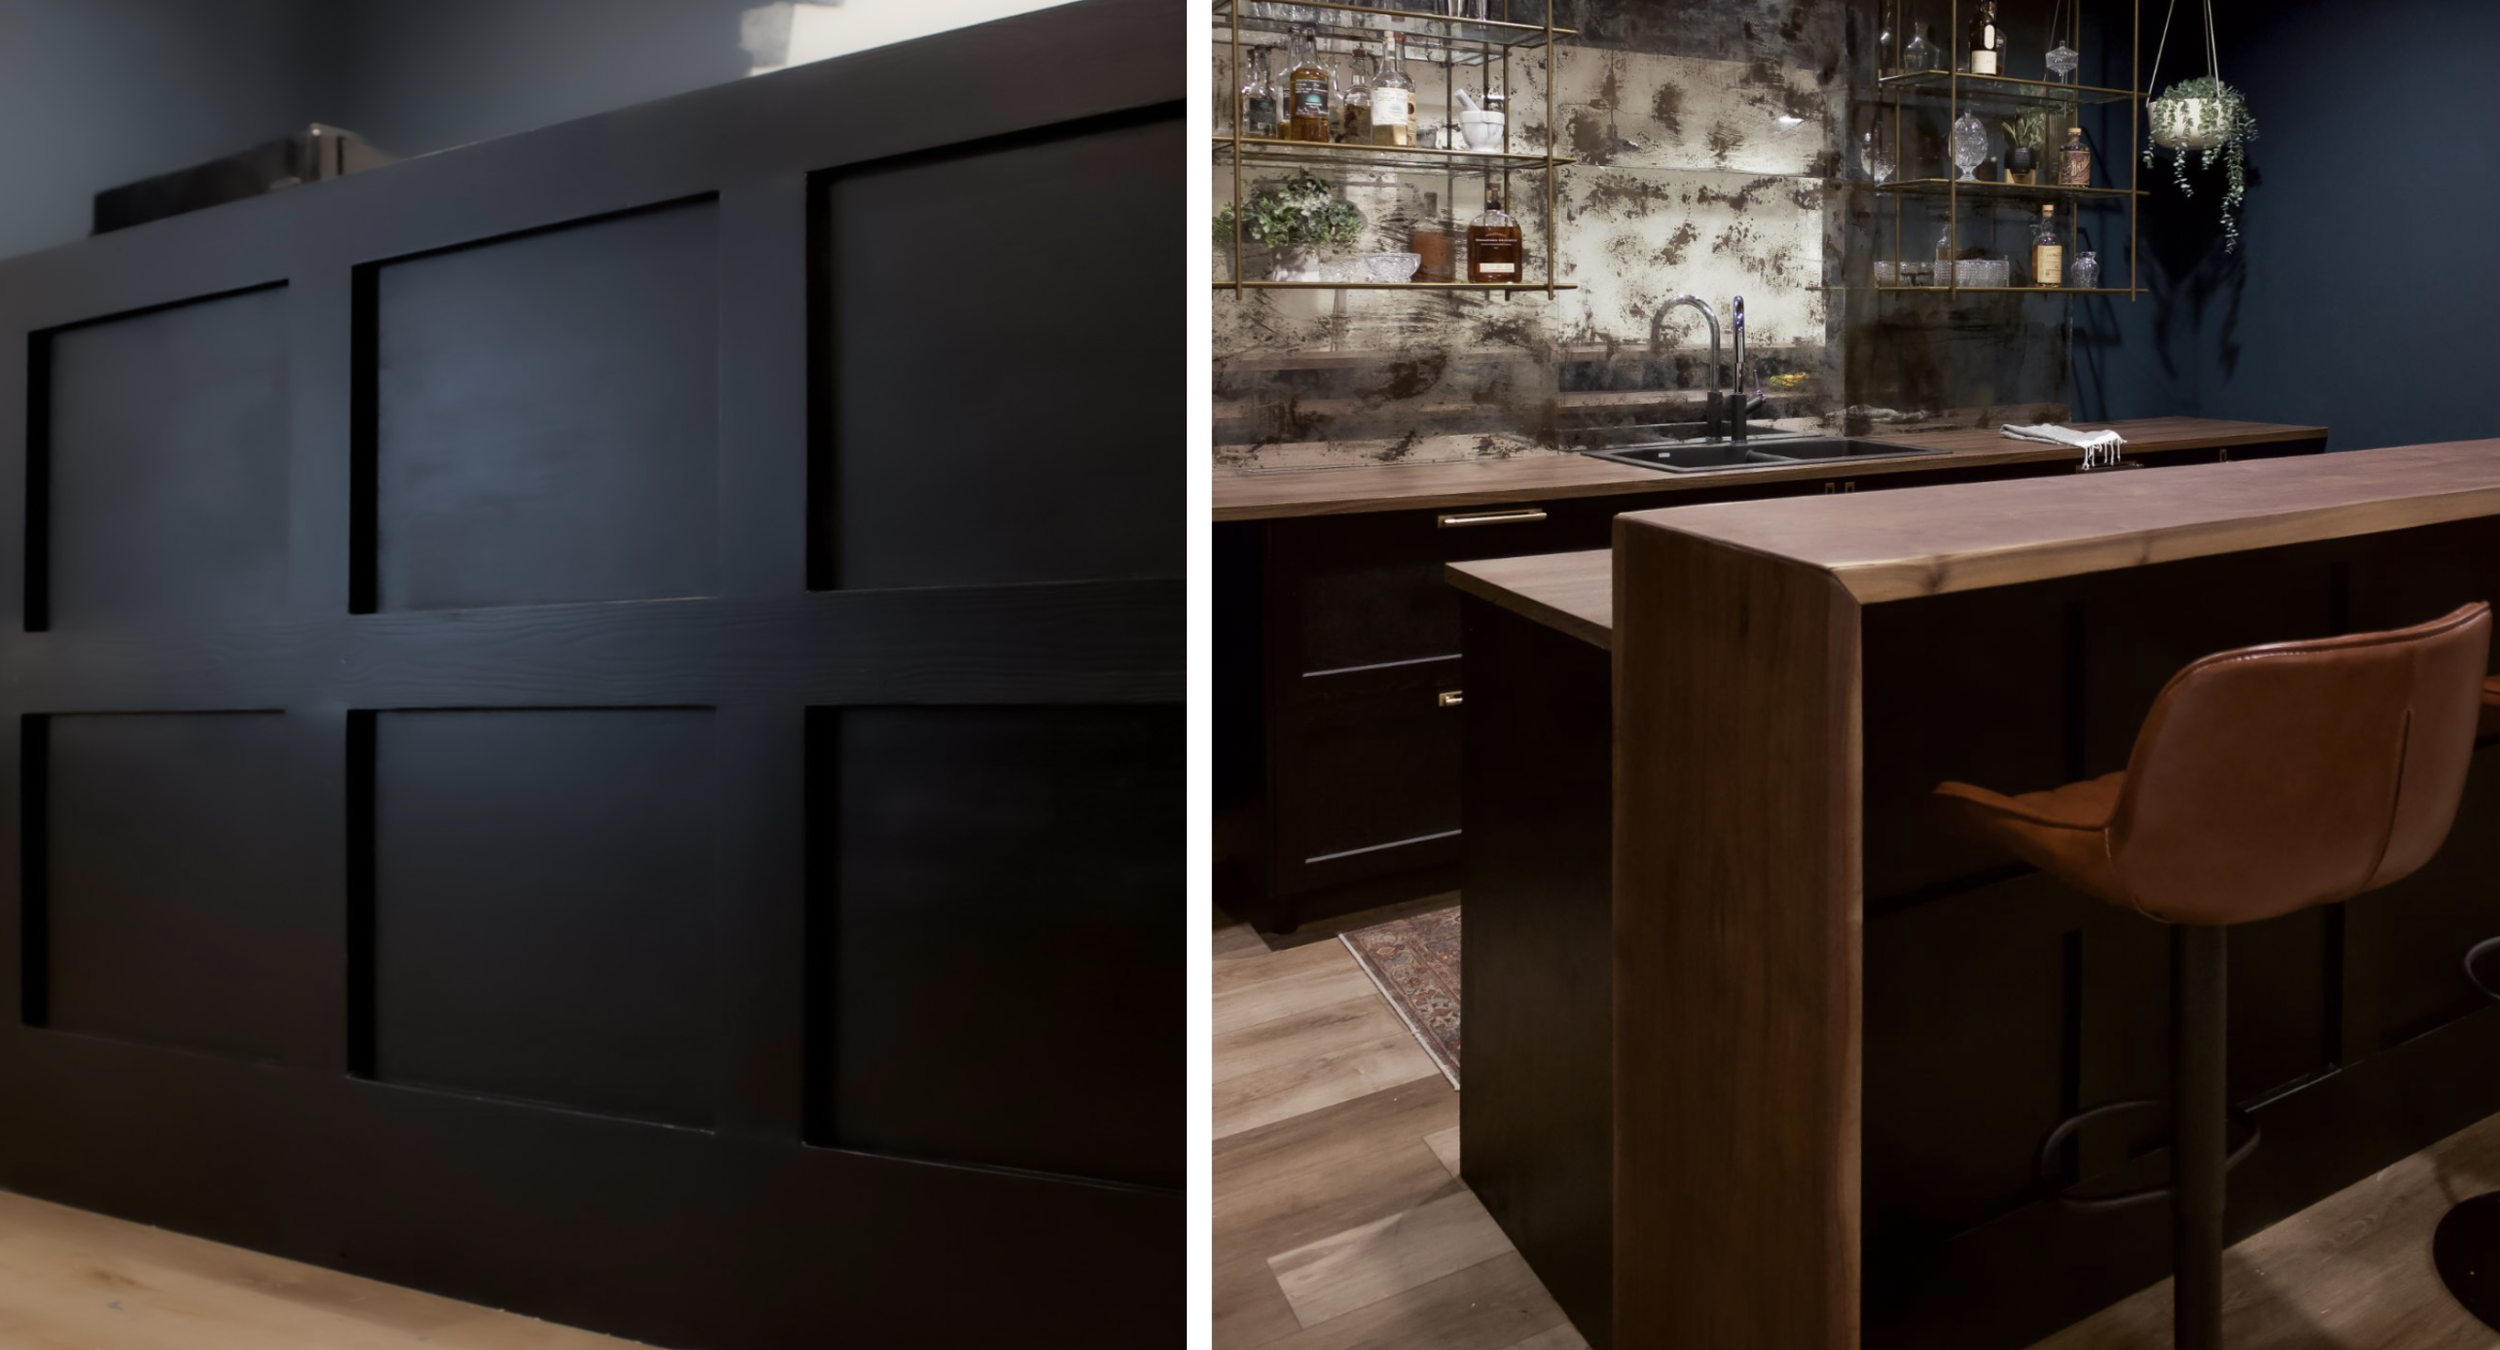
4. Choose a Statement Backsplash

I might argue that a bar backsplash is even more important than a kitchen backsplash.
Why?
In most layouts, you’re facing the bar backsplash the whole time you’re in the space! That means you should choose a backsplash that makes the view enjoyable.
I did DIY mirror antiquing to make a statement as the backdrop for our bar. Bonus: it was super affordable and is easy to take down and swap out if I ever tire of it. I saved the process and materials in my Instagram stories highlights here. Be sure to let me know if you give it a try!
5. Add Trim Details
I certainly could have left the front of the bar as a flat surface. But details really do make a difference! It only took me one afternoon to add face trim for a paneled look that makes the bar feel much more custom.
While we’re looking at these photos, here’s a bonus tip:
Consider doing something fun with your bar top. You can try a waterfall bar like I did, cut a rounded corner for interest, or add bar rail moulding to create a soft resting place for forearms. Any of those options will elevate the bar top from basic wood slab to something special.
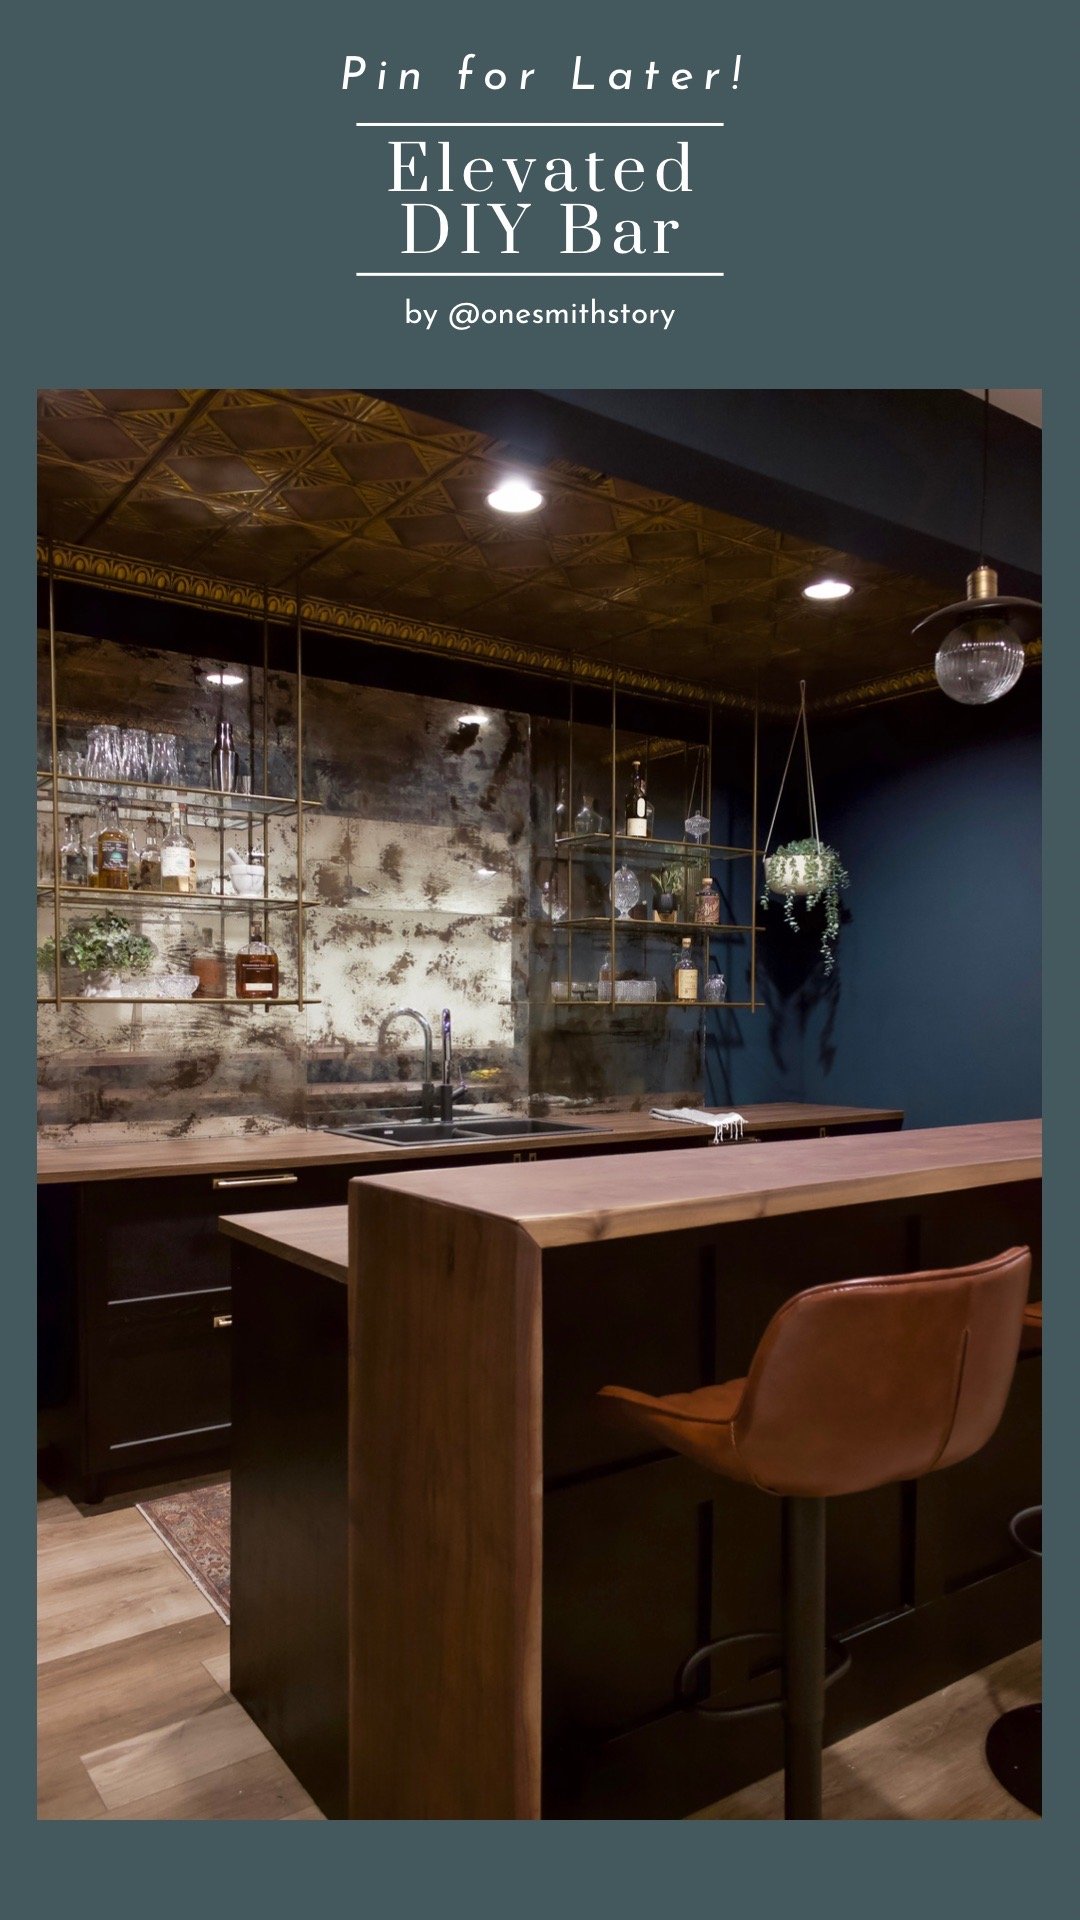
Pin This for Later!
Do you have any more suggestions to add to the list? Let me know in a comment below!
& Don’t forget to sign up for the newsletter for updates on future projects!