
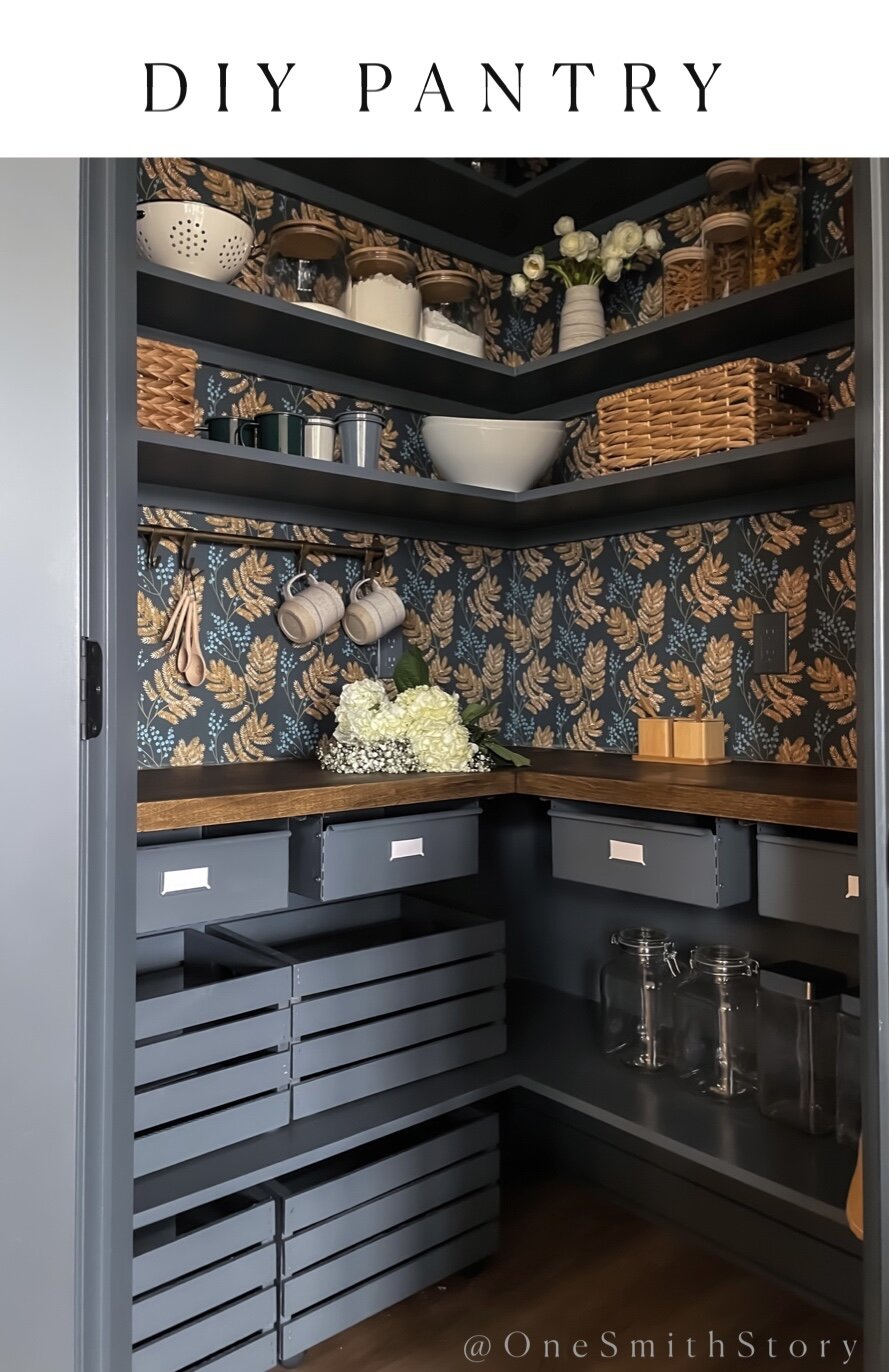
DIY Pantry with Moody Wallpaper
Custom closets weren’t in the budget when we built our home. But I wanted to do something more customized than builder-grade wire shelving. So we opted to leave all of the closets completely empty - including our corner walk-in pantry. One-by-one I used IKEA products or lumber to create systems that worked for us in the closet spaces. I saved the pantry for last because I had some big plans to go bold and have a lot of fun with the design. It’s a small space we’ll visit multiple times every day and a perfect opportunity to do something special that would make us smile.

Wallpaper Pantry Design Board
I knew I wanted to try wallpaper. I hadn’t installed it before but adored it in many other spaces. My final basic pantry design plan looked like this. (Spoiler alert: The finished space looks pretty close!) I planned for moody blue/gray painted shelves throughout, a row of drawers, and a wood countertop.

Continuing the Blue-Gray Cabinet Color
You can see the door to our pantry peeking in from the left of this photo. Because of the location I wanted the pantry design to complement our kitchen so I used the same cabinet paint color. This is Sherwin Williams Grays Harbor.

DIY Floating Pantry Shelves
I figured out my measurements (more on that below!) and had a couple large sheets of pre-sanded plywood ripped down at Home Depot. (This is such a great time saver - and helpful if you’re like me and don’t own a table saw!) So I only had to do tiny adjustments to each shelf (using my hand-me-down jigsaw) for a perfect fit at home. I used 1x2s screwed into studs to create cleats which support the shelves. I also added a few brackets for support in areas that needed them. You can find more detailed videos of this in my “Pantry” highlights on instagram @onesmithstory.
I also used my kregjig to attach the shelf boards where they meet near the corner for extra stability. As you can see - they turned out quite sturdy! Then I used my brad nailer to secure the shelf to the cleat around the back edges.

Creating a Custom Look
I wanted the lower half of the pantry to feel kind of like cabinets even though it was actually open shelving. To achieve this, I made the lower shelves deeper than the uppers and painted the lower shelves and drawers (I’ll get to those next) all the same color as our kitchen cabinetry.
Paint type matters for this project! I used Sherwin Williams ProClassic Interior Acrylic Latex Enamel paint in Semi-Gloss. Why? It’s what our painters used on the pantry door. It’s made for trim and cabinetry and the enamel finish makes it durable. It’s not meant for walls, but I used it on the walls of this space as well with no issues. Bonus: no need to do a sealant coat of any kind! I’d caution against using basic wall paint on shelves in a space like this where they’ll see lots of wear and tear.
Don’t forget to caulk all of our seams with paintable caulk! This drip-free caulk gun is totally worth the couple extra bucks.

IKEA Ivar Drawer Hack
My original plan for this pantry was to use the IKEA Ivar system. Ultimately, I decided to go a more custom route, but I did see some potential with incorporating the Ivar drawers. They simply attach below any shelf (of accommodating measurements) and are super versatile. Check out those cute labels! I wanted them to blend in for the cabinet-like look I mentioned above, so before assembling them I painted them with a quality primer and then the same Sherwin Williams enamel paint listed above. Bam! Easy drawers in a matter of minutes. (Keep an eye out for them in the reveal photos!)

Skim Coating Textured Walls for Wallpaper
Our walls have a “sand” texture, which, while pretty minimal, could still be a problem for wallpaper. I wanted to be sure the wallpaper installation would go as smoothly as possible, so I used joint compound to “skim coat” and smooth out the walls before applying the paper.
Here’s what I used:
Joint compound mixer attachment for drill
Magic Trowel (this is a game changer and the real secret to a good skim coat)
Sturdy paint tray
3/4in nap roller
Spray bottle for water
Sponge for “sanding” the compound once dried
You can see my skim coat process in my Instagram stories here (Just tap through the “Pantry Pt2” stories and you’ll see it!)
I mostly followed Jennifer of @makingprettyspaces’s steps and am grateful for her thorough tutorial, here!
Pantry Wallpaper from Milton & King
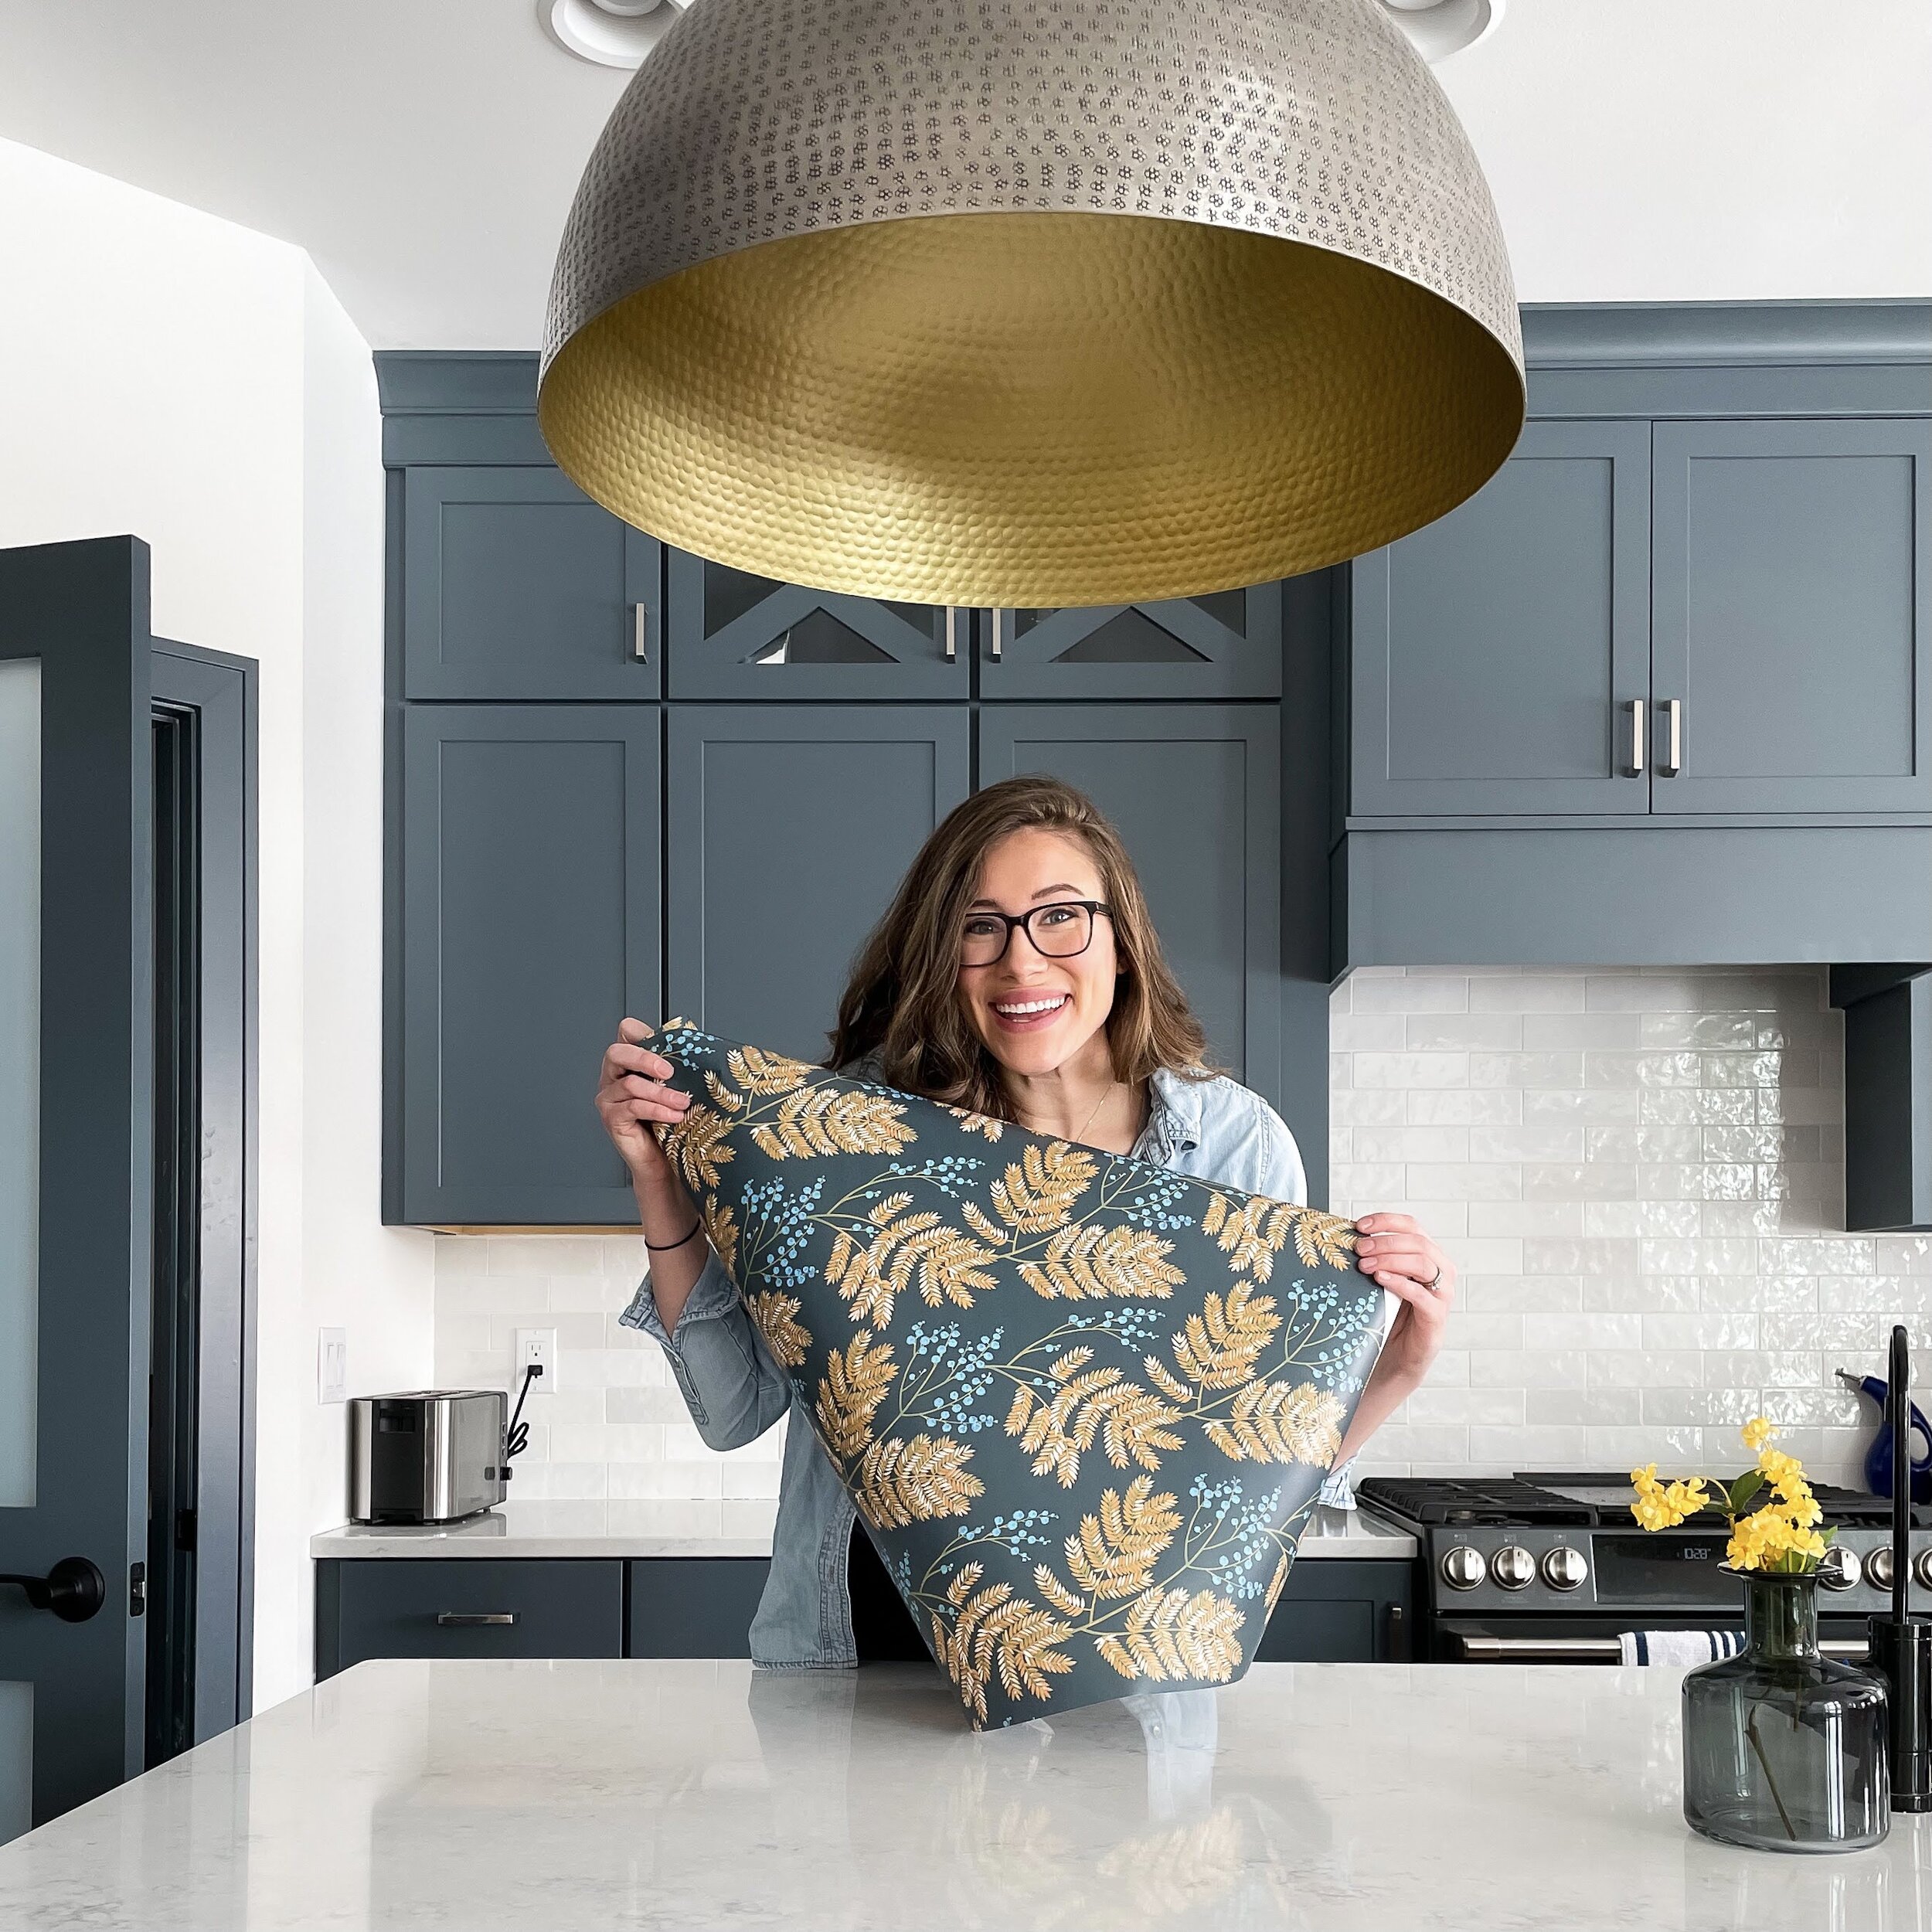
I considered a lot of wallpaper sources and designs for this little space. Peel and stick or paste? Geometric or floral? (I asked some friends to weigh in and even they had a hard time choosing a side!) Ultimately, the winning selection was this playful Milton & King print called “Mimosa” in the Tranquil Crop colorway. The colors matched our kitchen cabinets so well it was like it was meant to be. And I love that the wheat and berries theme feels appropriate for a pantry.
It is a paste wallpaper and I was nervous about the application process but I followed their instructions and watched the helpful videos and felt confident I could do it. Milton & King was kind enough to supply the paper for this space and I would happily use their products again!
Oh, also, their customer service was next level. (No, they aren’t paying me to say this!) Fun fact: I had studied abroad in Australia for a semester in college and fell in love with the playful, friendly vibe of the culture. When I learned Milton & King was an Australian company, I knew they’d be great. Sure enough, the packaging, communication and product exceeded my expectations.

Milton & King Pasted Wallpaper Installation
Milton & King does pasted wallpaper a little different from most other brands I’m familiar with. A lot of other paste paper brands come pre-pasted OR the instructions tell you to put the paste on the paper and then apply the giant length of sticky paper to the wall. Sounds messy, right? Milton & King, on the other hand, has you roll paste onto the wall and then apply the paper. This just makes a lot more sense to me than trying to wrangle massive sheet of sticky paper! I also liked that this method made it easy for me to slide and adjust the paper to line things up perfectly. It was all very forgiving. You can see the quick wallpaper application process in this reel.
I used this simple wallpaper application tool kit and this exact paste for the job.
After the paper was up I added the upper shelves using the same cleat method described above. I painted them before installing them so that I wouldn’t make a mess of it all. I also purchased these basic wood crates (which I painted) and caster wheels for ground storage and used furniture felt pads on crates for lower shelf storage. Oh, and can’t forget the cutest label maker!
Lastly, I added a 1x2 front to the maple plywood counter to give it a more substantial look. Then I prestained and stained it with a mix of practically every stain color I had on hand until I liked the way it looked.
That brings us to…
The Reveal

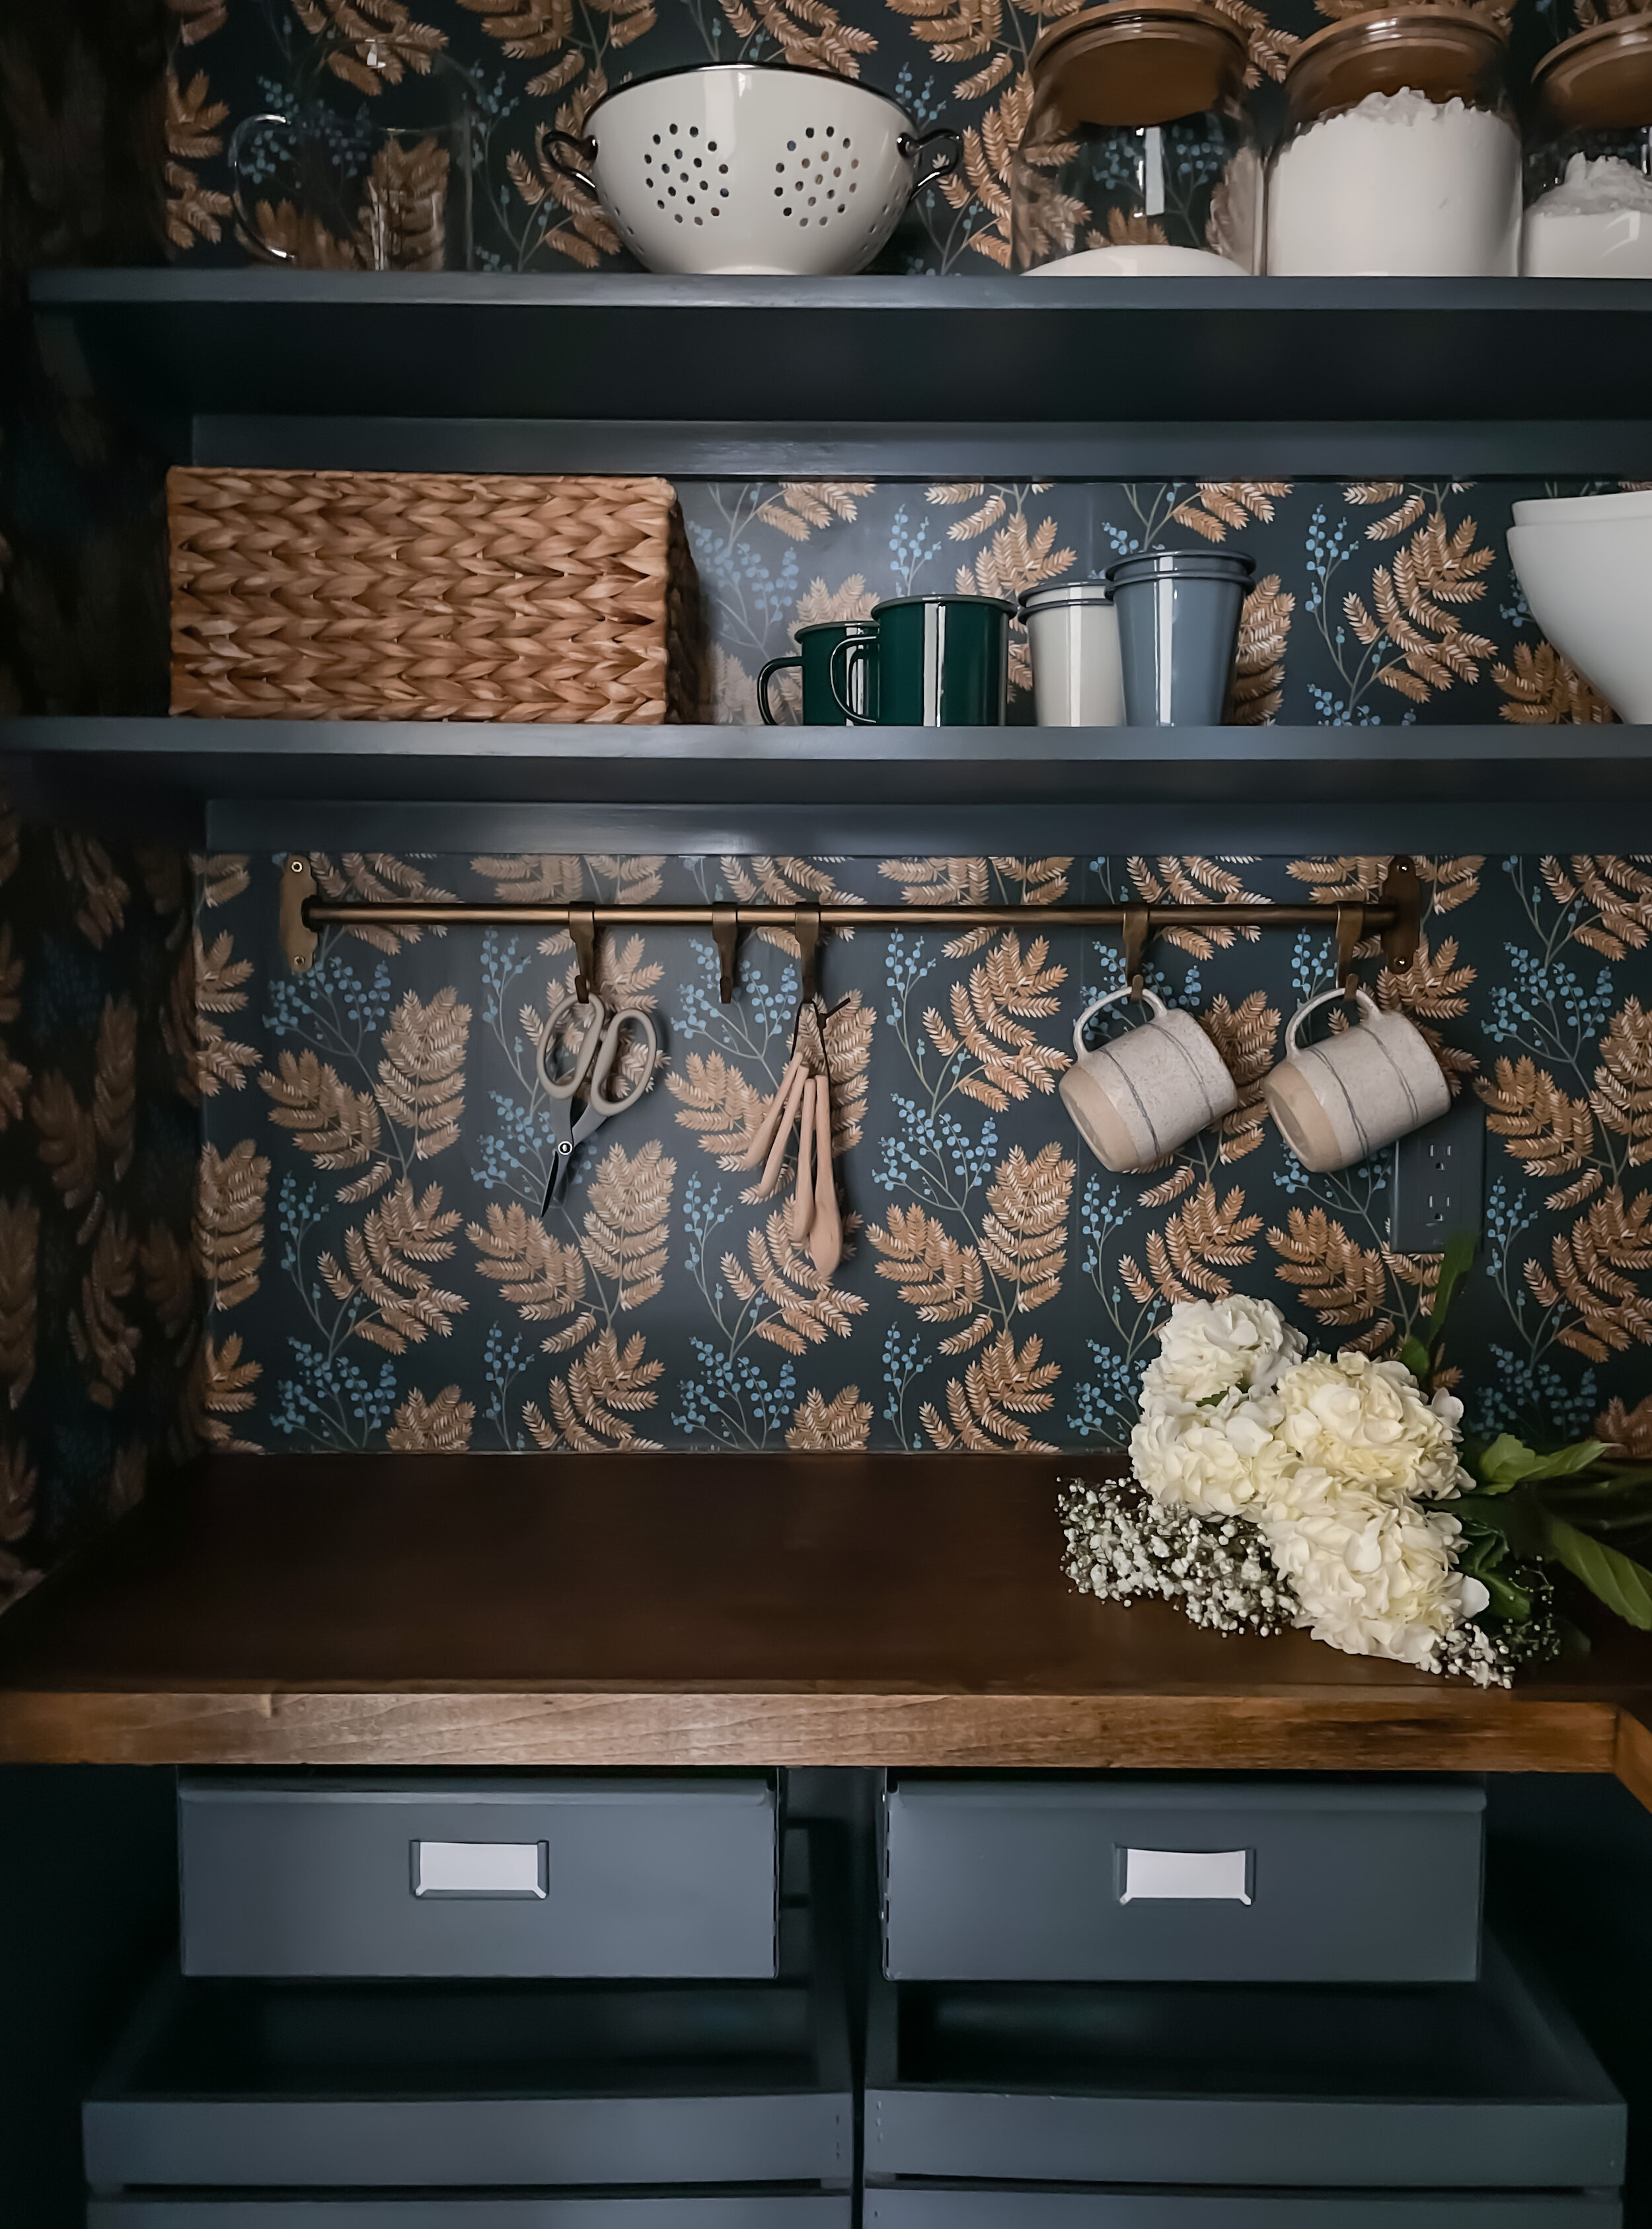

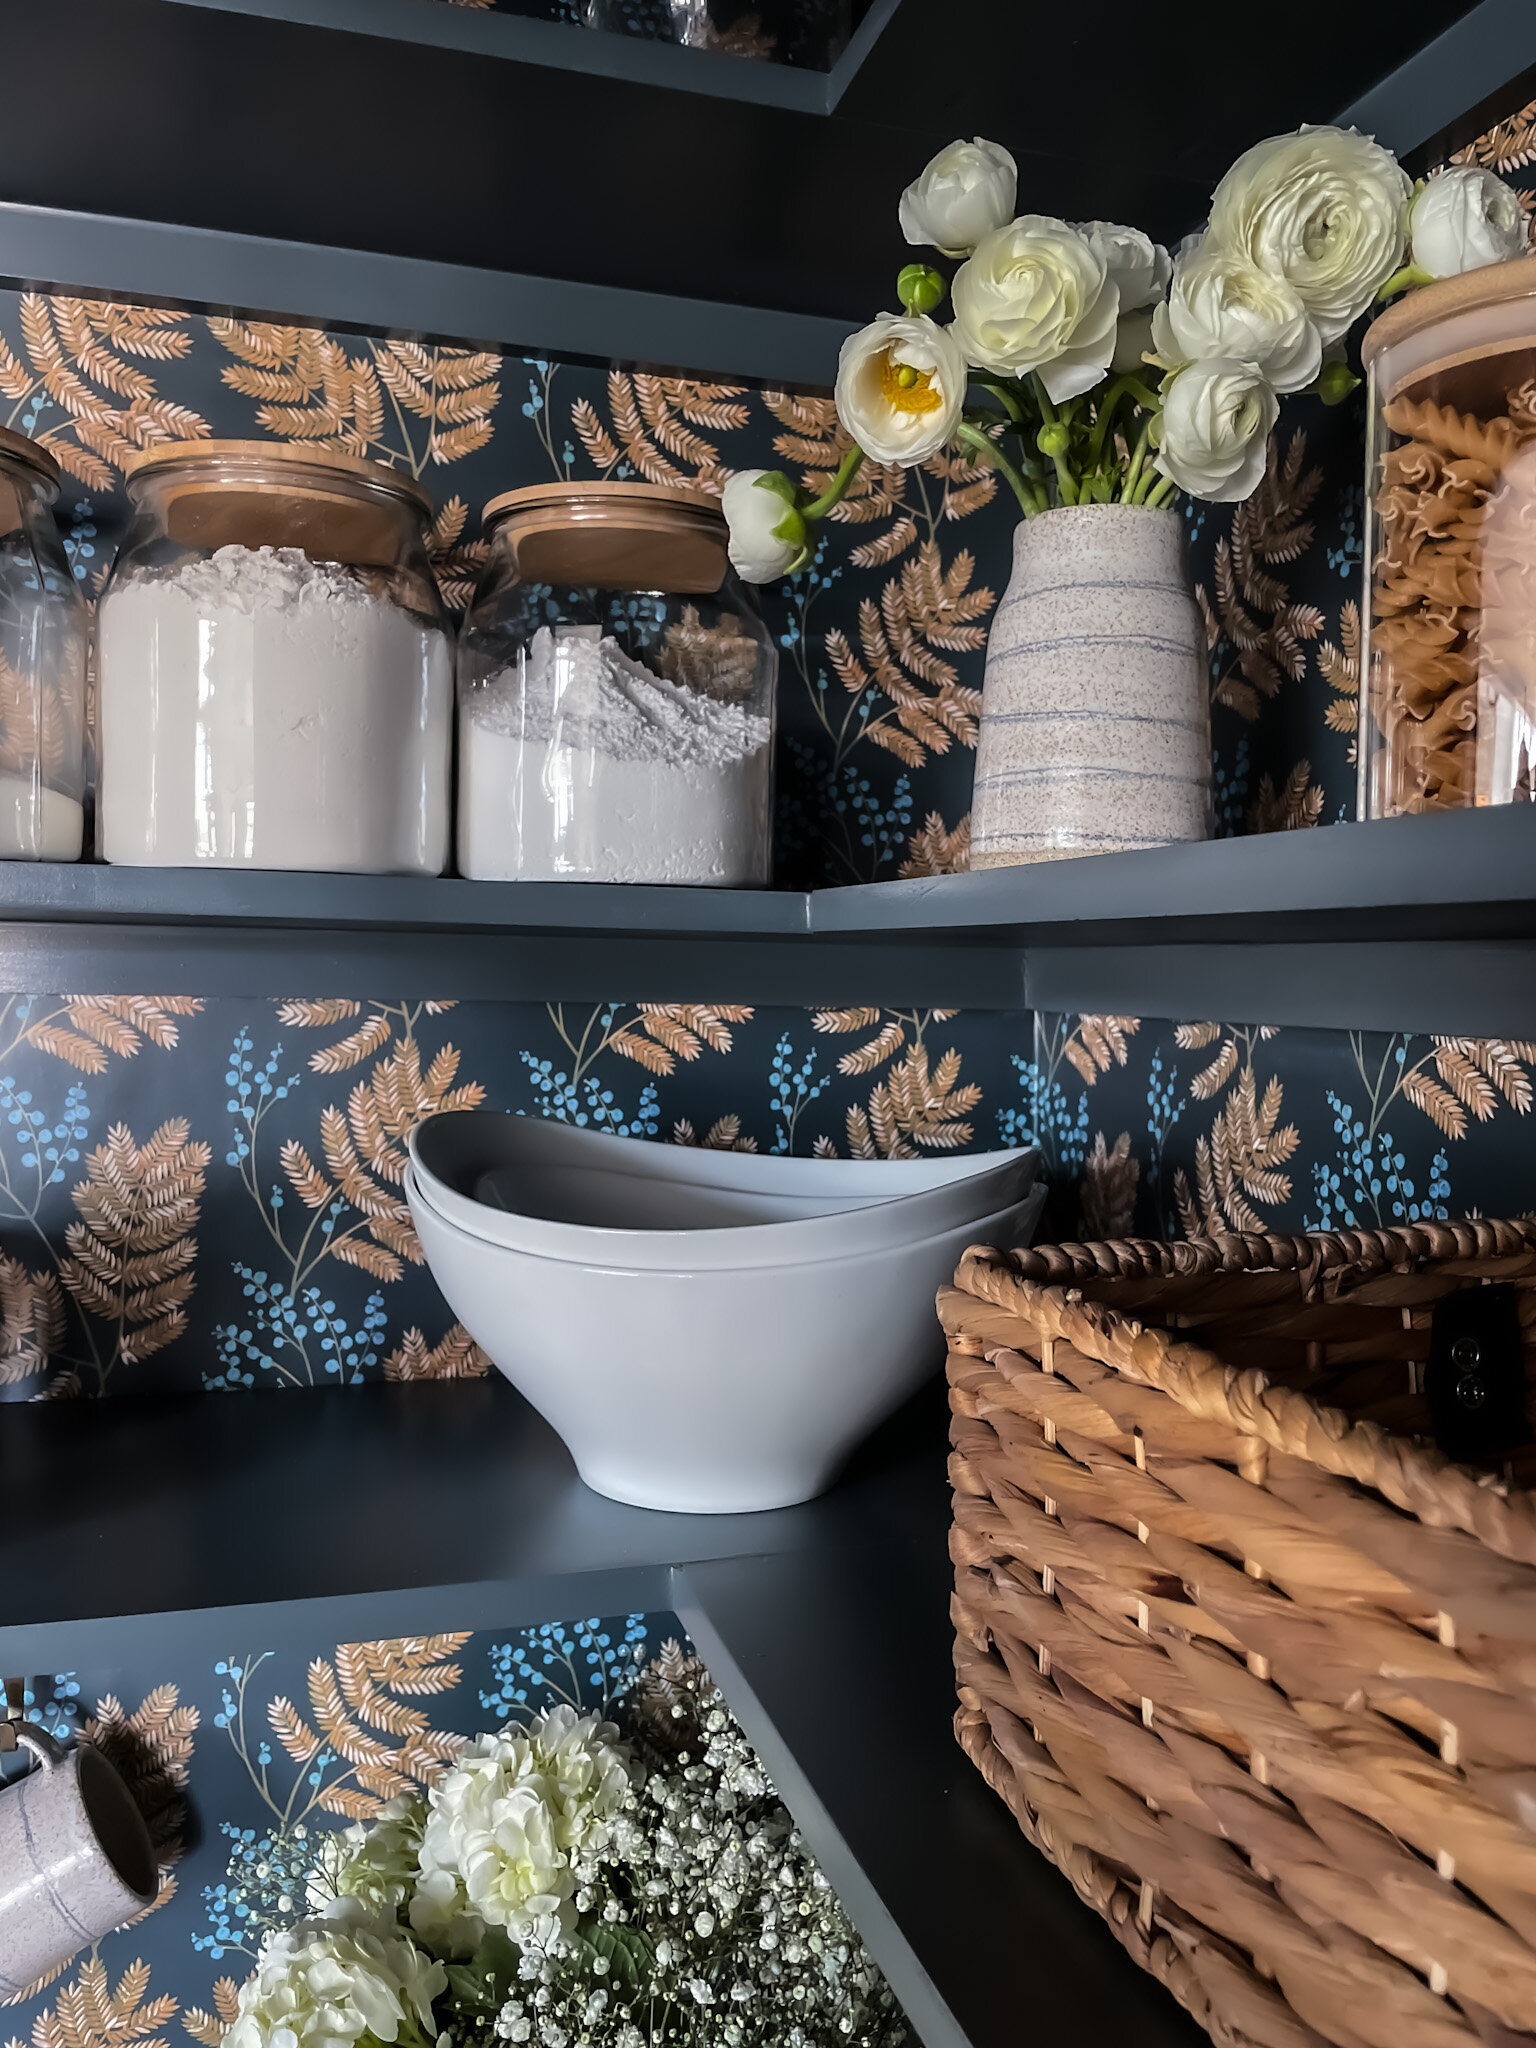
Pantry Organization and Decor Sources
Wallpaper - Milton & King
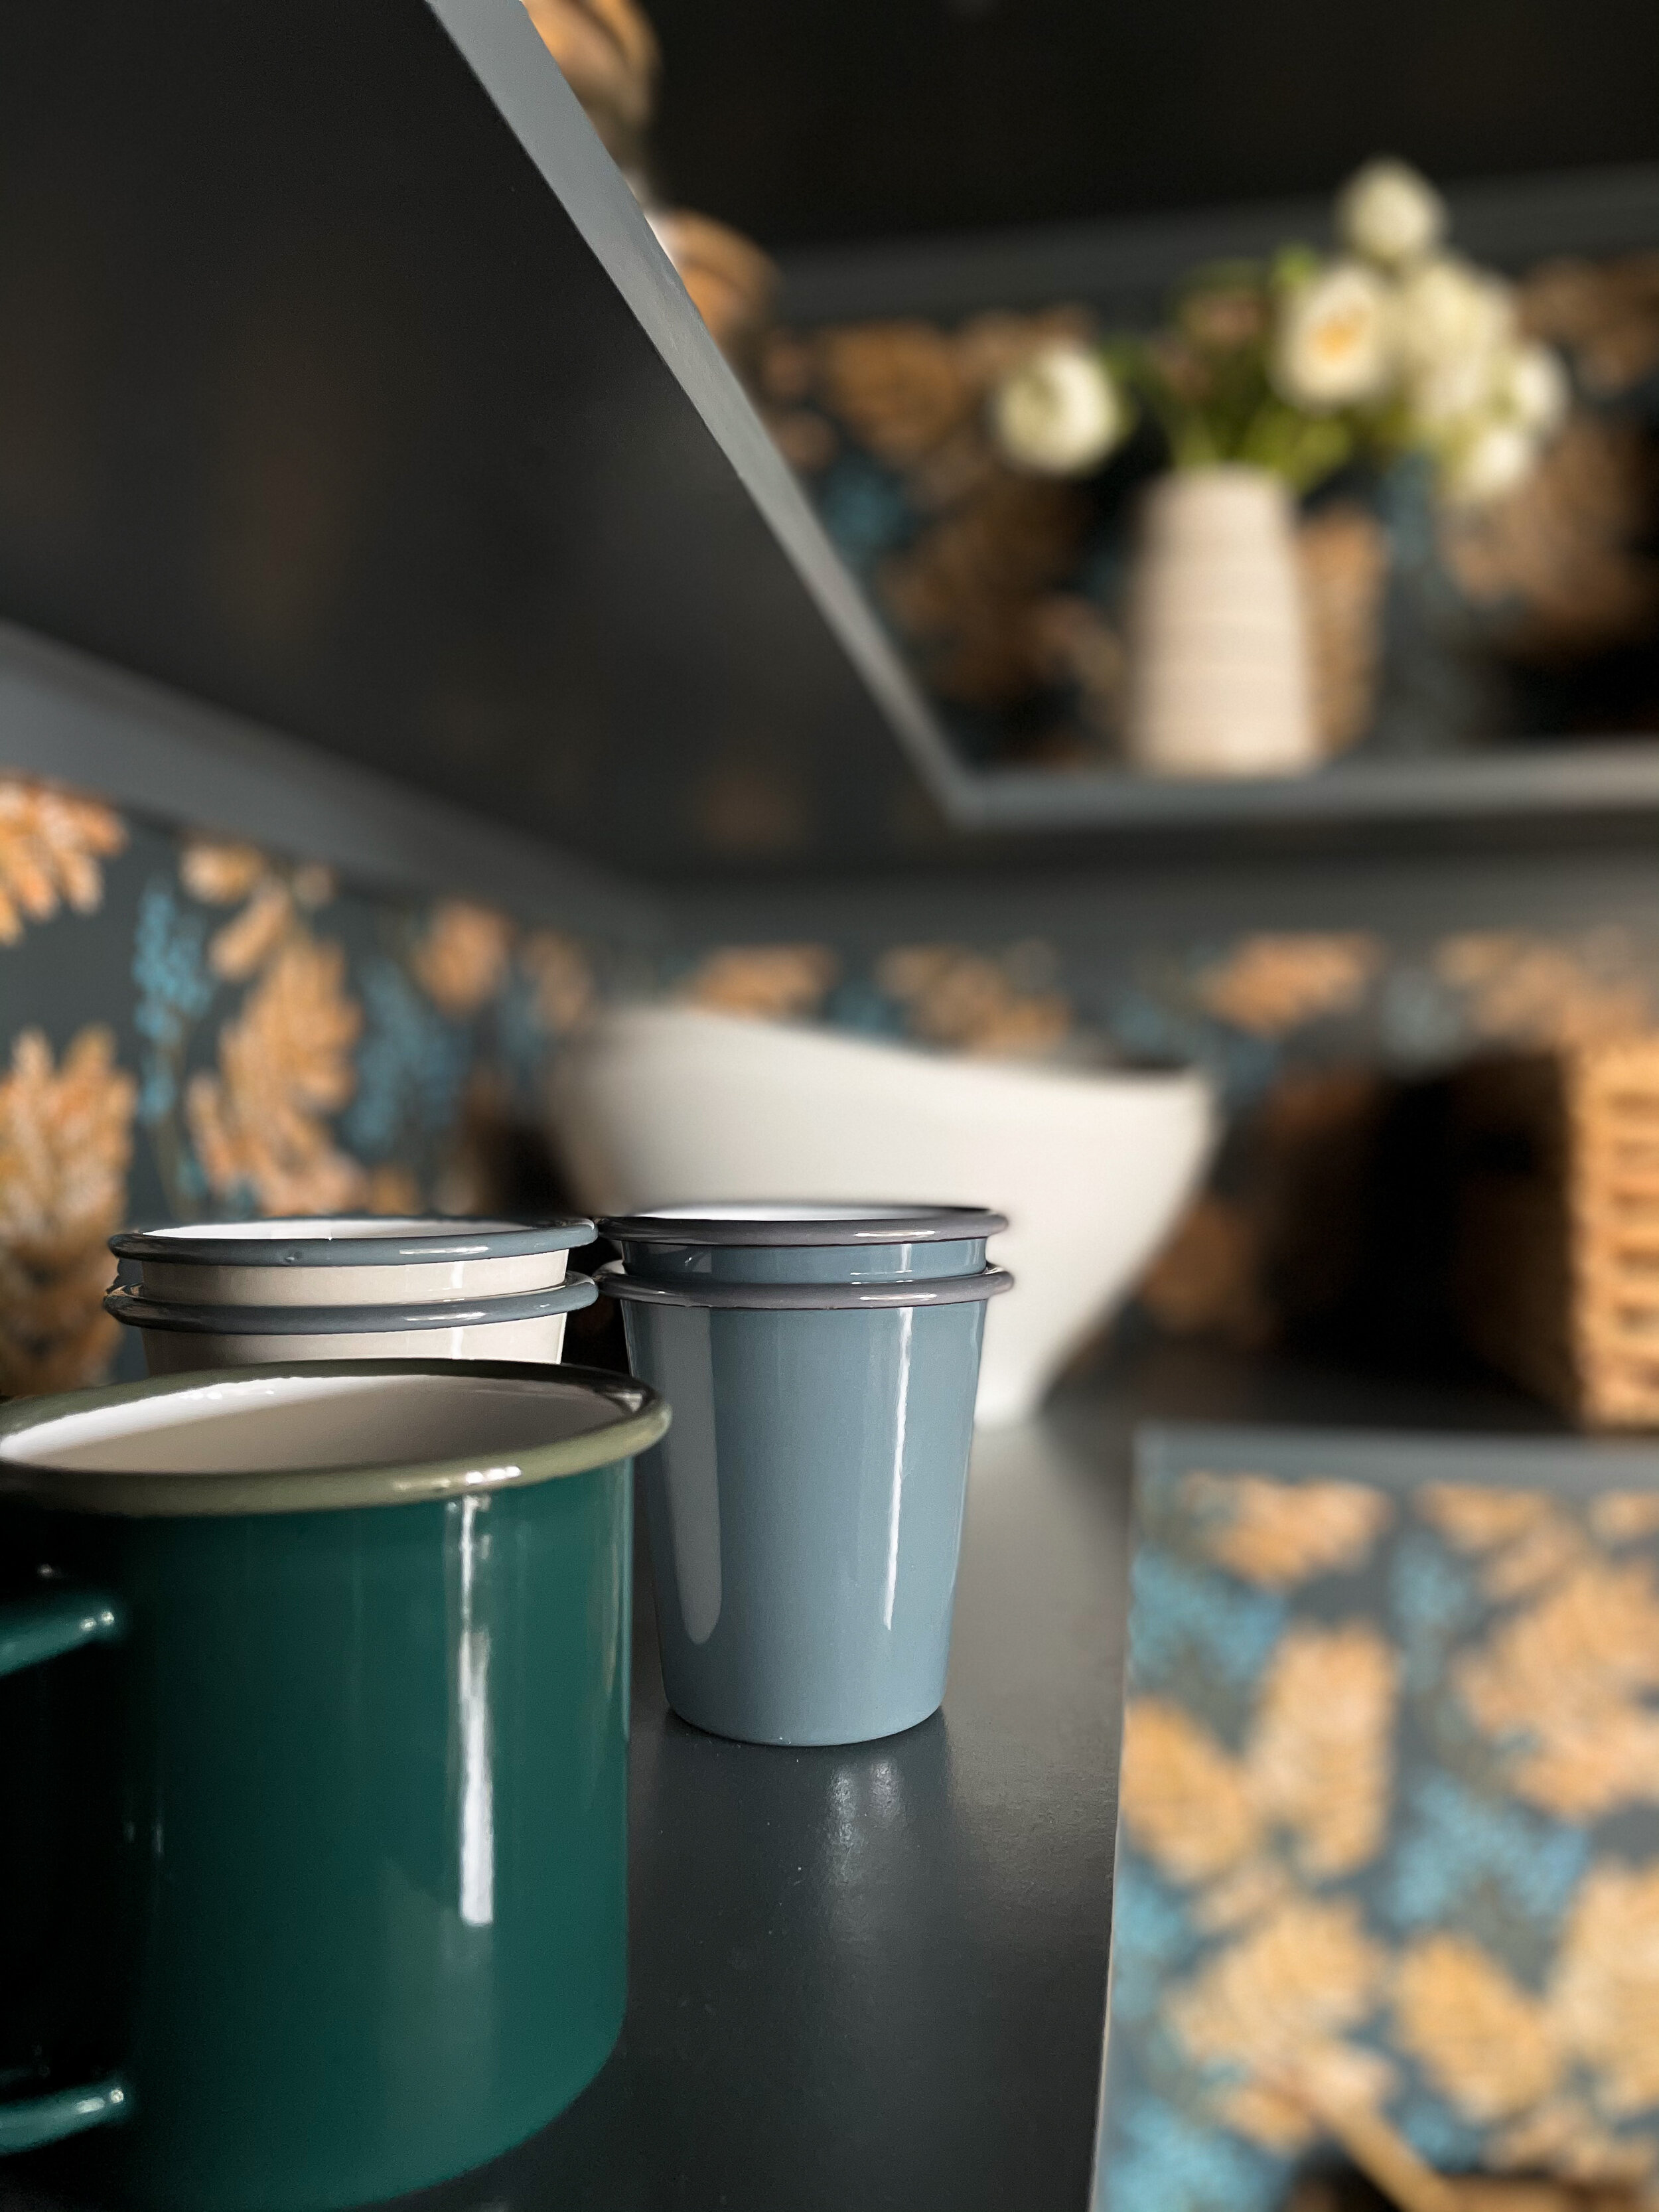
Vase & Mugs - Covet and Ginger
Cylinder Canisters
Large Baking Canisters
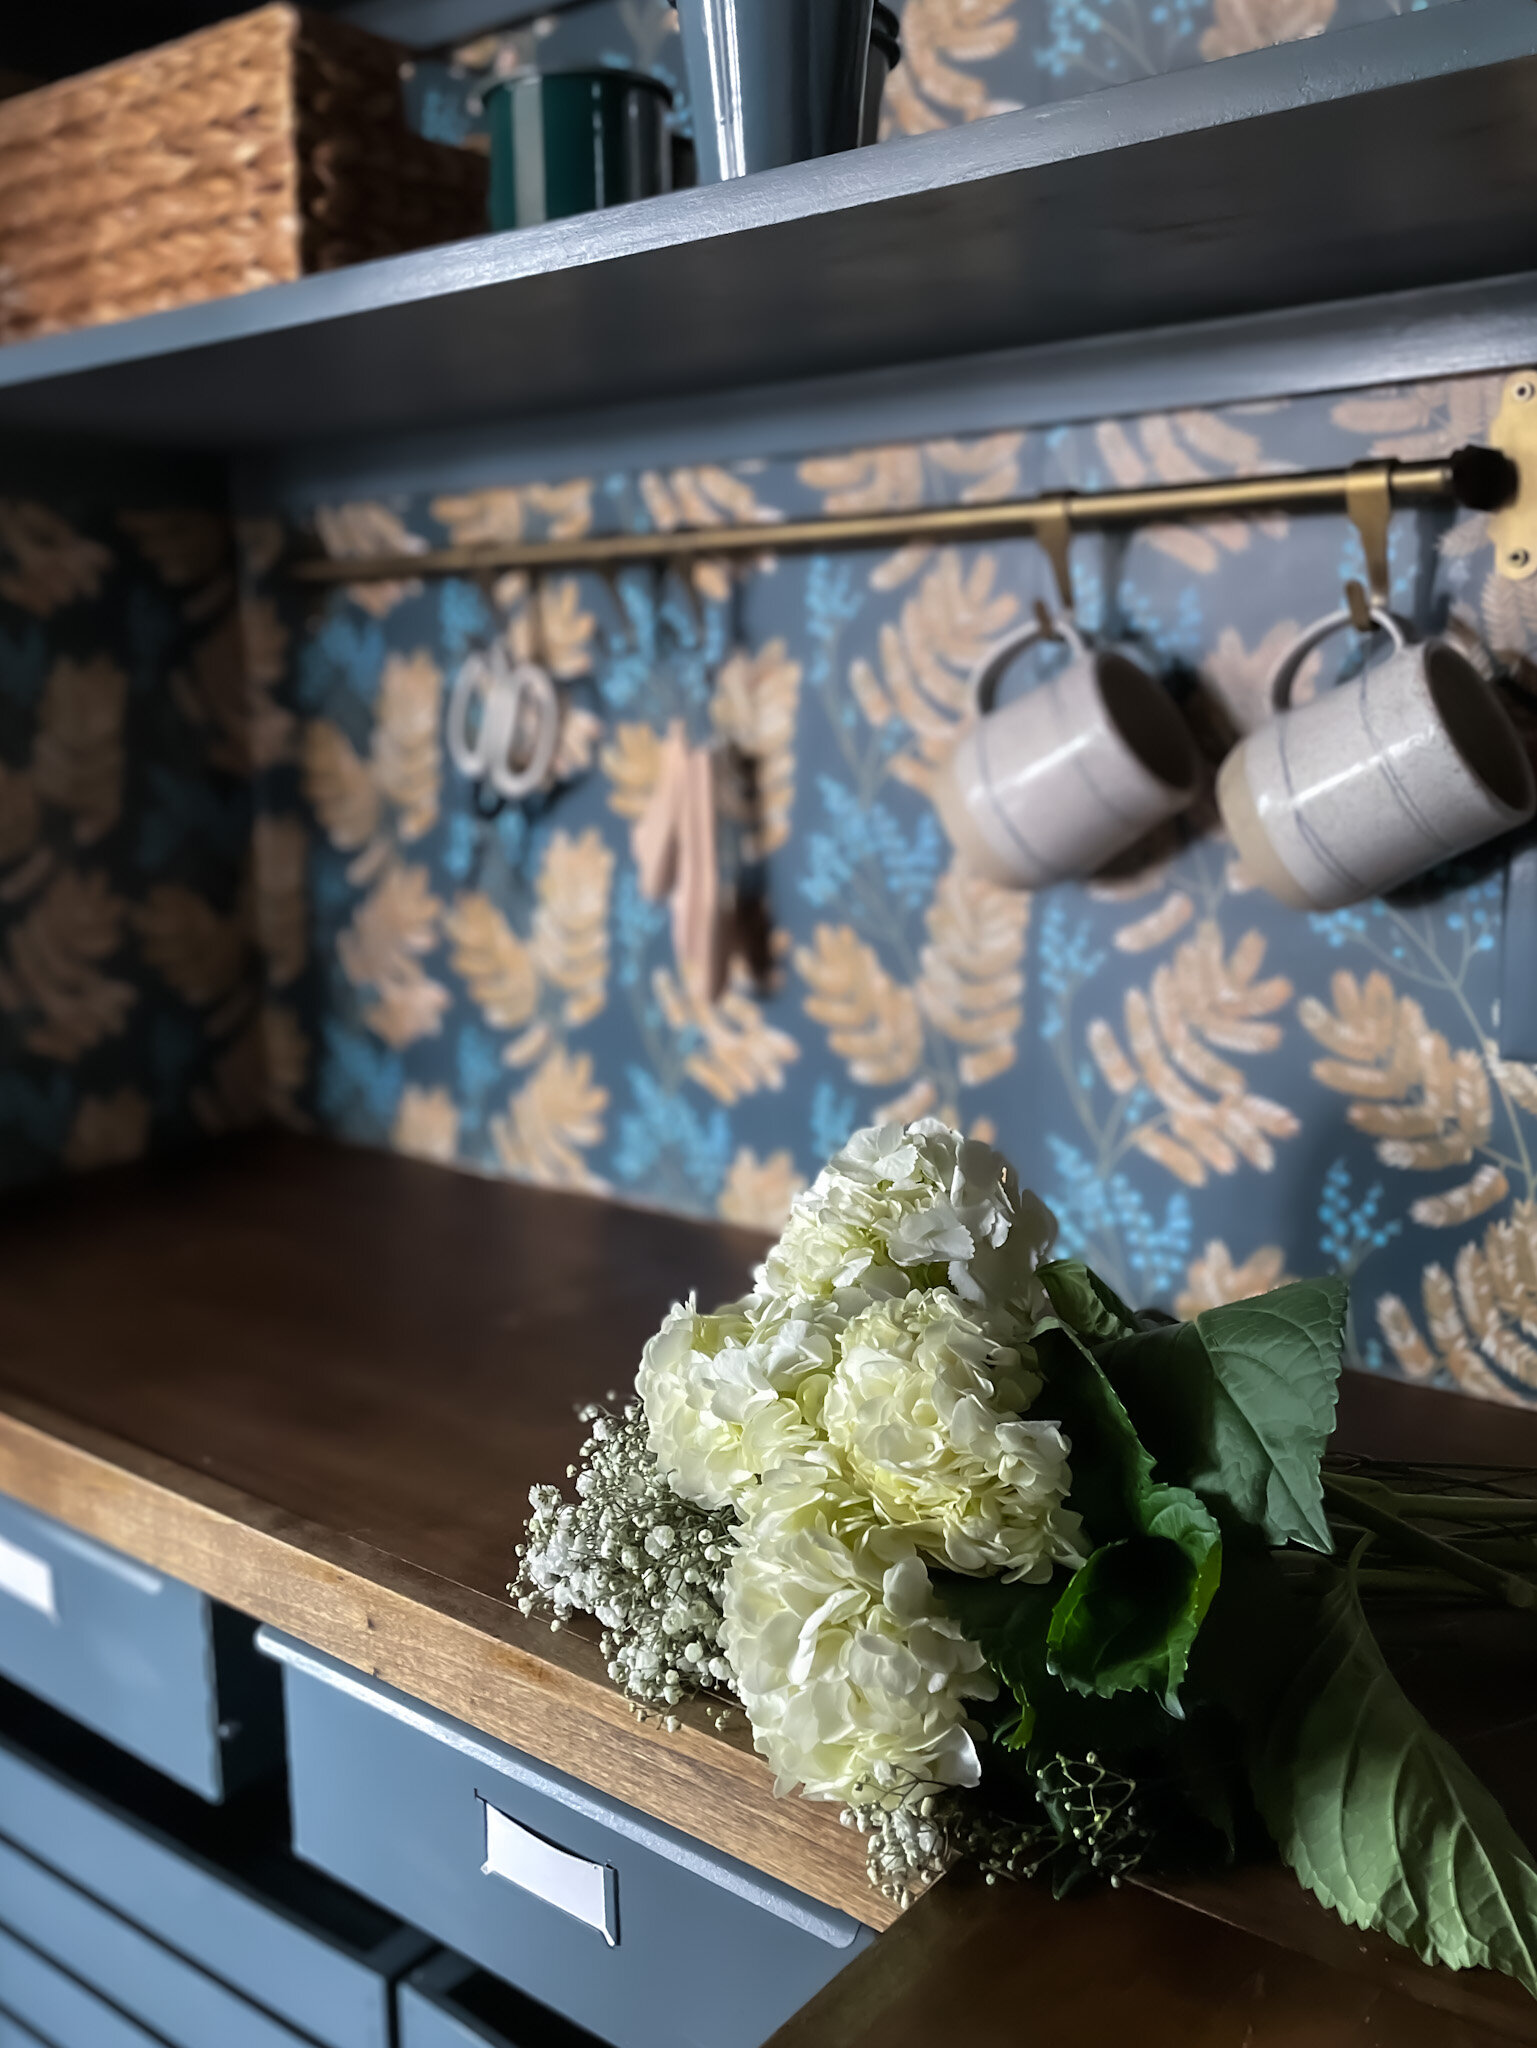
Hanging Bar & Hooks (black turned brass with Rub N Buff)
Glass Jars on lower shelf
Apron (love this one!)
Wooden Measuring Spoons
Baskets - various sources
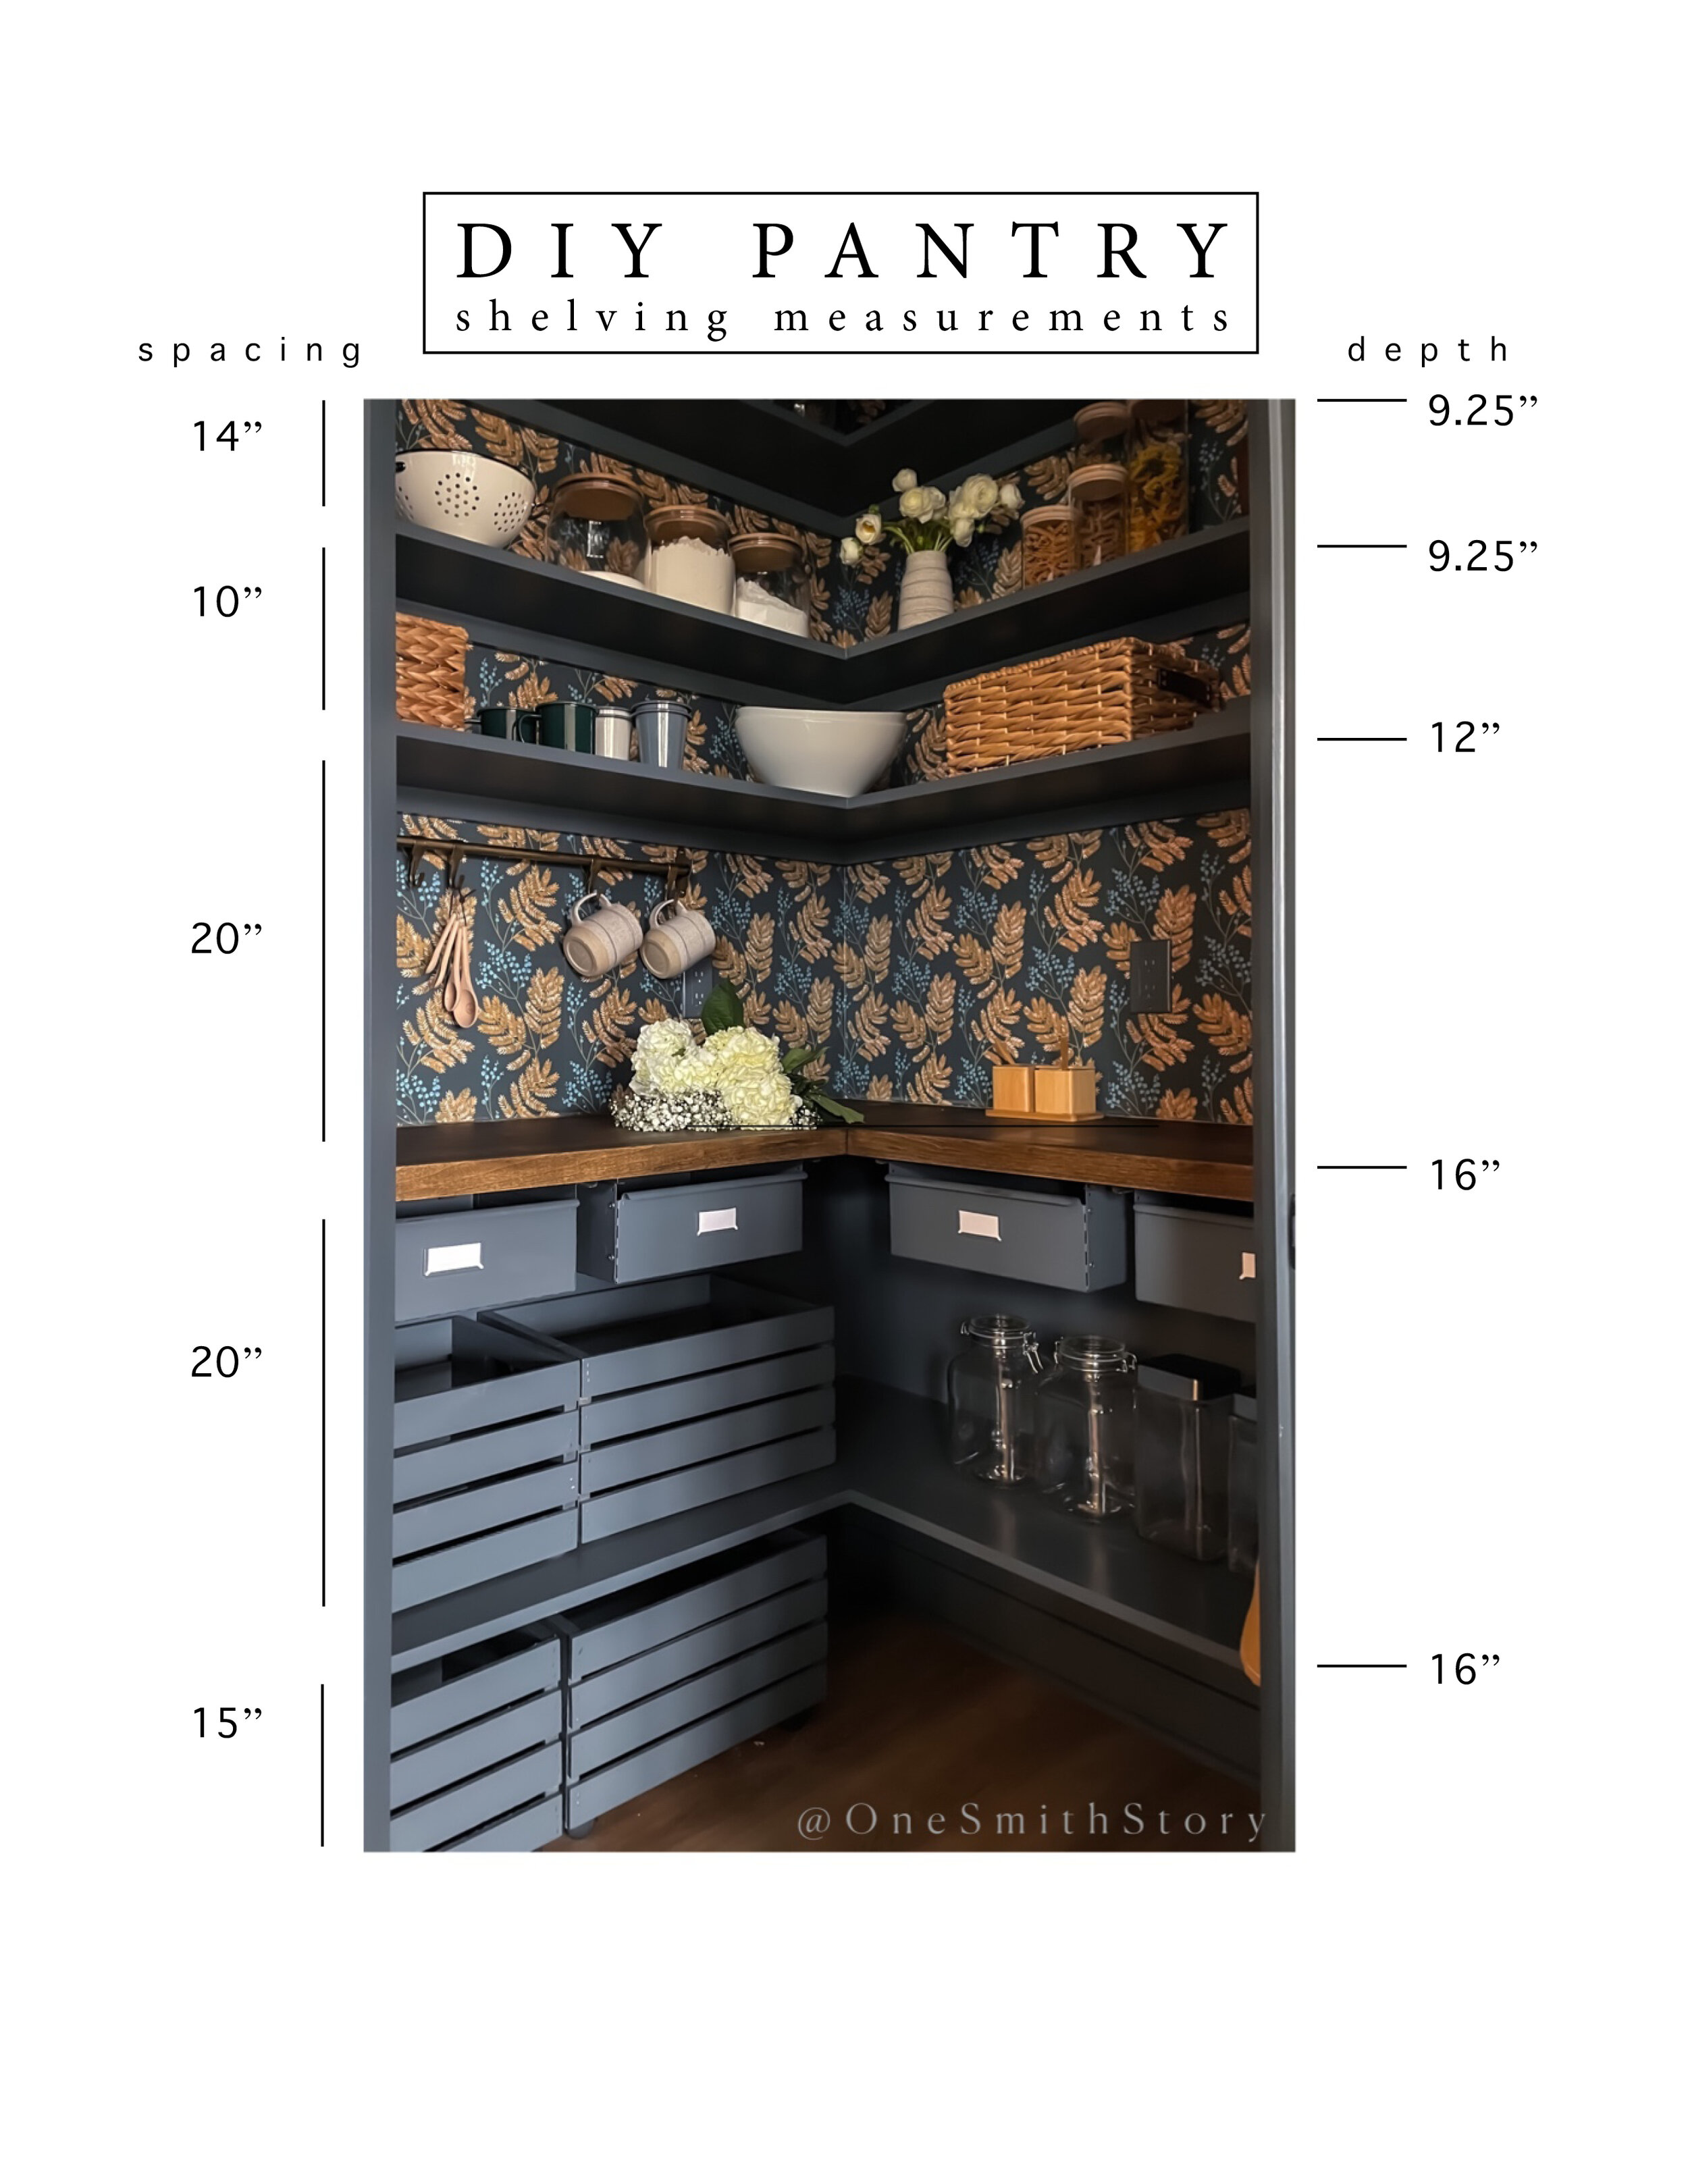
DIY Corner Pantry Measurements
Pin this one for later!
Back walls are both approximately 52”w
Shorter side walls (not visible in the photo above) are each approximately 26”w
The wall with the door approximately is 37”w, almost all of which is taken up by the door
Ceiling is 9ft
Comment below with any questions & pop by @OneSmithStory for more!