
DIY Bar - Part 2
One Room Challenge Week 4

The DIY bar is really starting to take shape!
…Which is good, because it’s already week four of the One Room Challenge. I didn’t get as much time to work on it this week, but I’m so excited to have the front paneling and trim work done so I can really start to see the space come to life.
In case you missed the previous steps, I built the frame for the bar last week and built the back bar using IKEA cabinets the week before.

BAR DESIGN INSPIRATION
Last week, Pinterest served me this photo of the bar at Death & Co in Denver. (Photo by Adam Szafranski) And I was like HOLY CRAP! THAT’S WHAT’S BEEN IN MY HEAD! The colors, the vibe… It’s what I’ve been working toward in this space but hadn’t found a great reference. Until now!
Okay, obviously this incredible venue is 10x the size of our basement (with sky-high ceilings). But the walls are almost the same color I’ll be using and the dark bar with mirrors were also already part of the plans. Check, check, check.
Then I noticed the trim detail on the bar.
Ah ha! I hadn’t been able to decide what to do on the bar front. The classic square trim used here was the perfect answer. I’d actually done a wall in this style in our old house so I was comfortable recreating it on a small scale.
BAR TRIM BUILD PLANS
I built the bar front using:
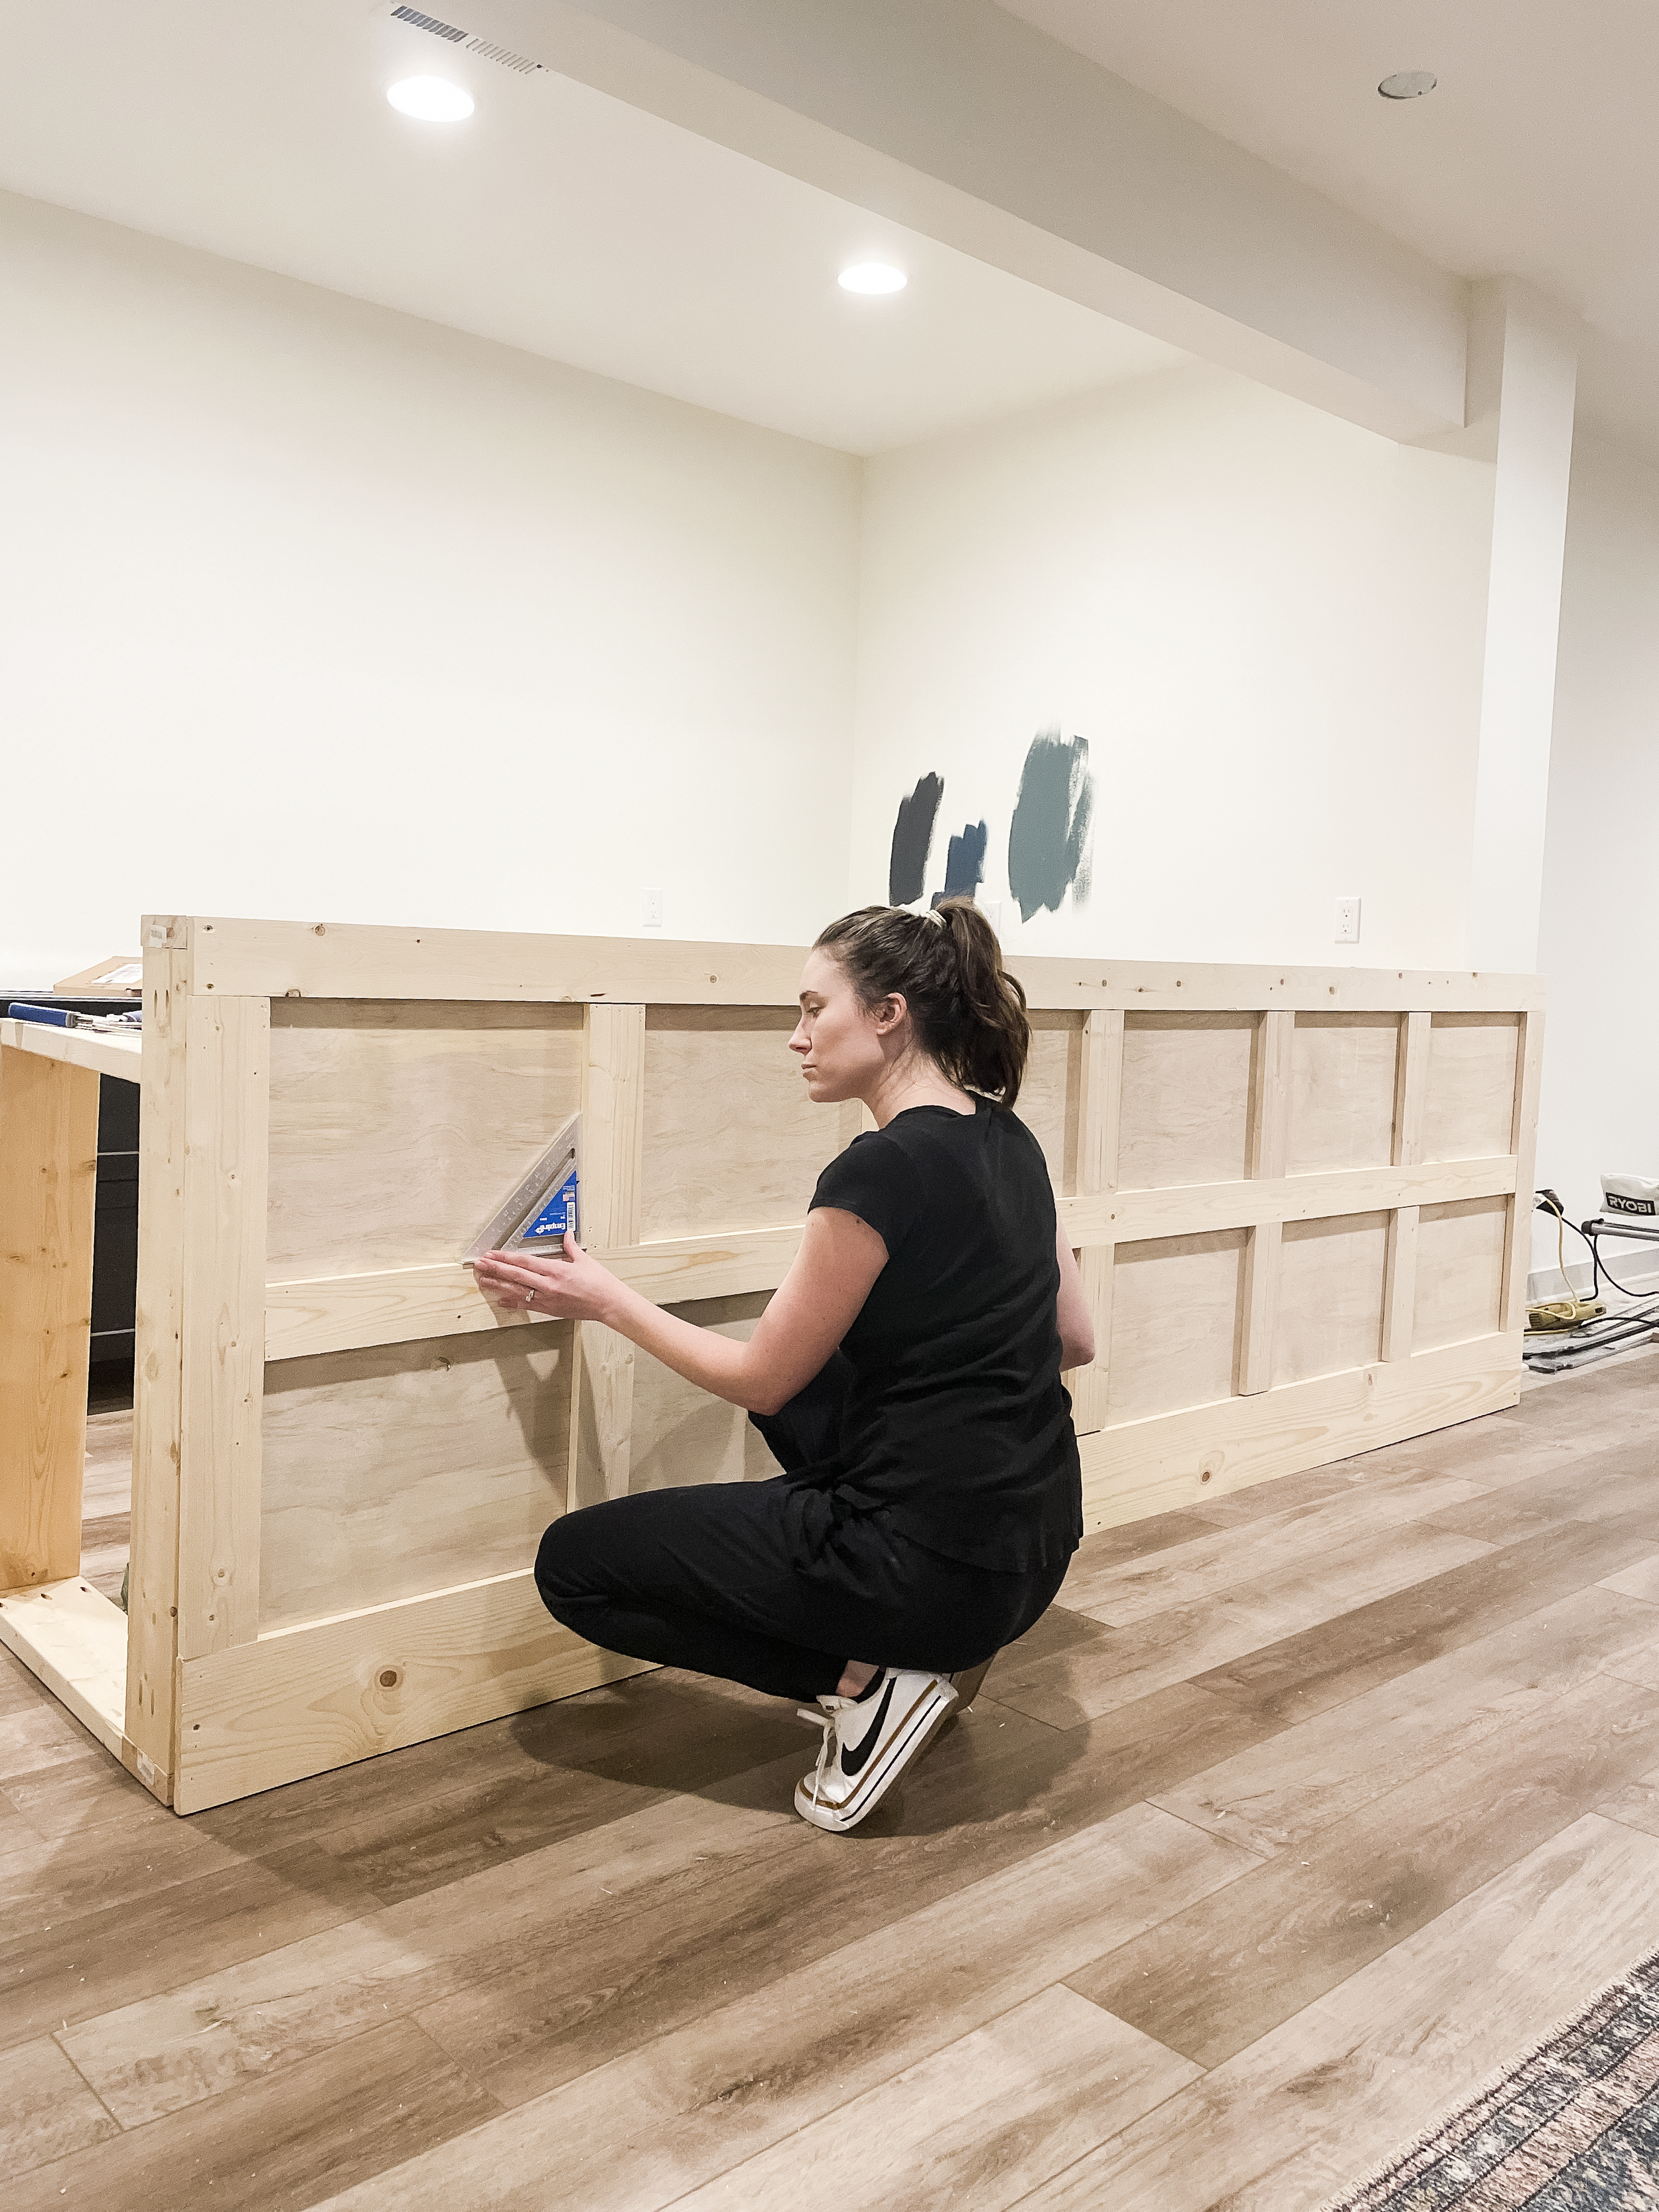
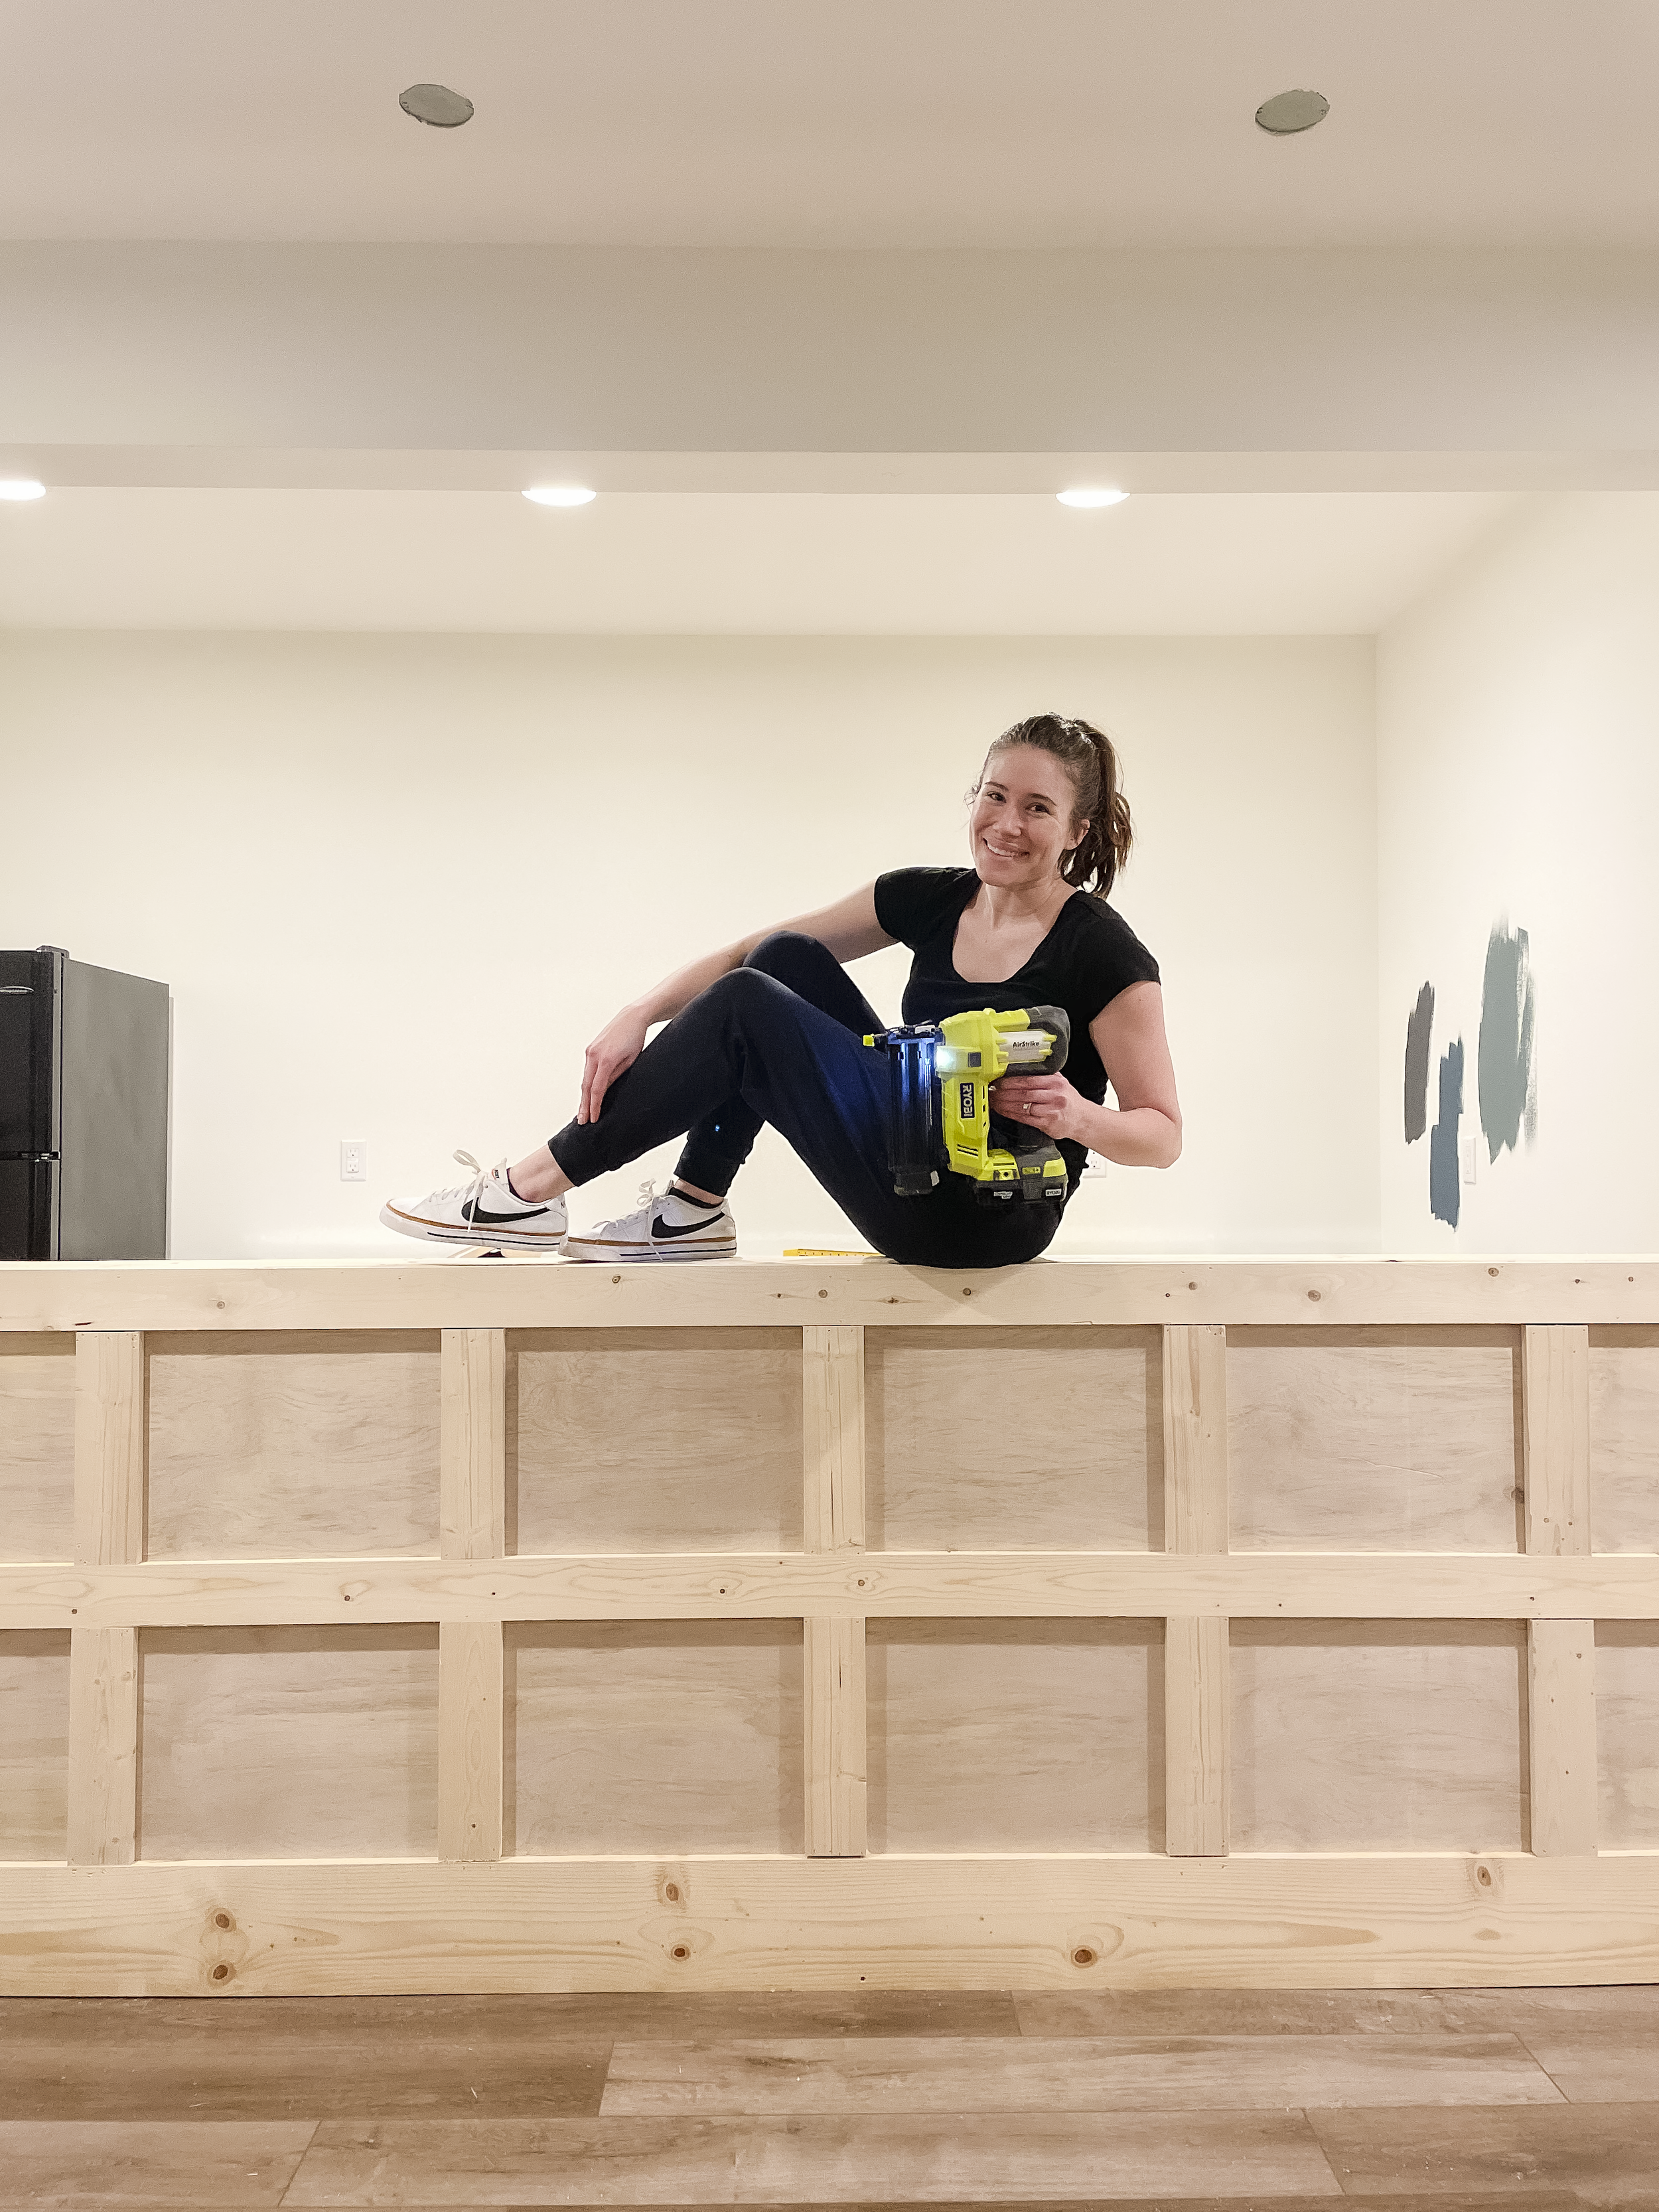
That’s it! I used a Ryobi table saw to rip down the plywood panels. Since our bar is 10.5ft long and the panels only come in 8ft lengths, I used two and strategically cut them so that the seam would be hidden behind the vertical trim pieces. I secured the panels with my favorite Spax screws. Then I used a miter saw to cut the trim pieces and a battery-powered brad nailer to secure them. As always, I also suggest using a speed square to make sure your corners are perfectly square.
1/2in thick pre-sanded plywood
1 x 8 for the bottom trim to make it a bit more substantial
1 x 4 for the rest of the trim
WHAT’S NEXT?
This week I plan to fill the nail holes, sand and stain the bar, and hopefully hang the pendant lights. I will also start painting the bar nook Farrow & Ball Hague Blue. I’m so eager to see how the deep color transforms the space!
Oh, and I’ll start to use my nice camera to get proper pictures as we start getting to the good stuff.
Be sure to check out my stories on Instagram to see more of the process, pivots and lessons learned along the way!

moody DIY basement bar plans
